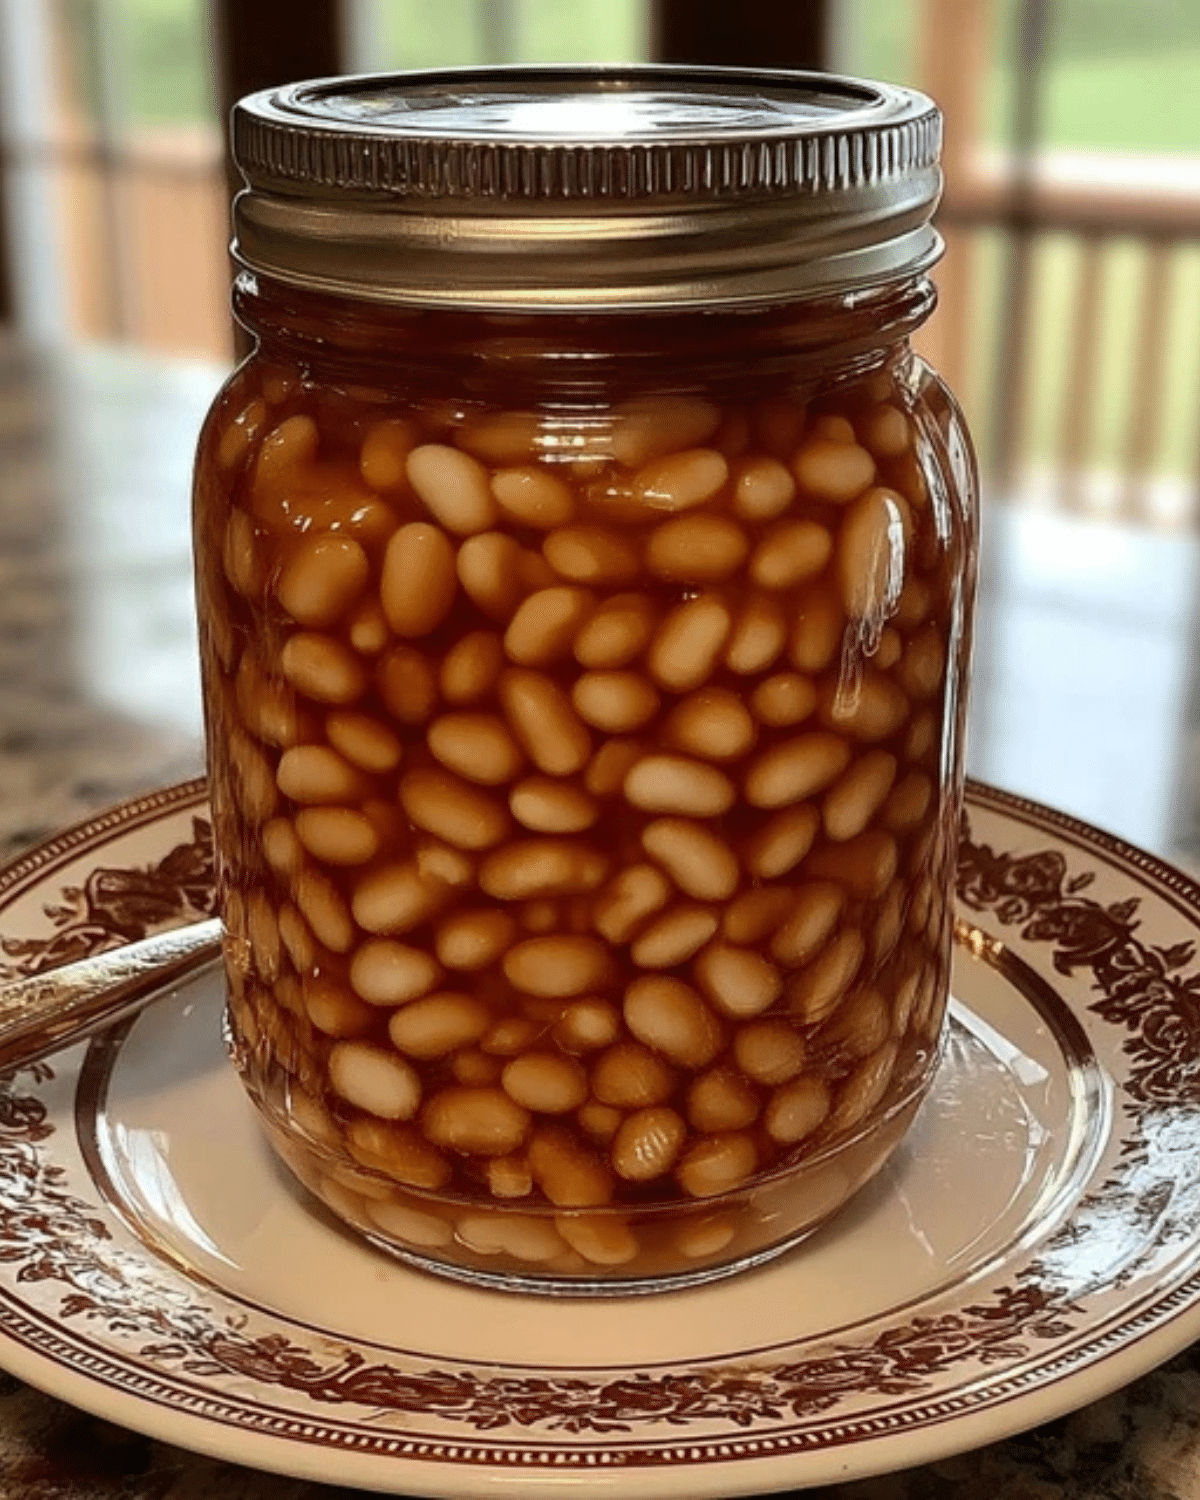
Home Canned Better Than Bush’s Baked Beans are exactly what they sound like—rich, sweet, smoky baked beans that taste even better than the classic store-bought version, yet are completely homemade and shelf-stable. If you love the familiar flavor of canned baked beans but want more depth, better ingredients, and full control over sweetness and seasoning, this recipe delivers. Even better, when properly pressure canned, these baked beans stay safe and ready in your pantry for months.
In this complete guide, you’ll learn how to make Home Canned Better Than Bush’s Baked Beans from scratch, how to pressure can them safely, and how to customize the flavor to suit your family’s taste.
JUMP TO
Table of Contents
Why Home Canned Baked Beans Are Better Than Store-Bought
Although Bush’s baked beans are popular, homemade versions offer clear advantages.
Flavor Control and Custom Sweetness
First, you decide how sweet your beans are. While store brands often lean heavily on sugar or corn syrup, Home Canned Better Than Bush’s Baked Beans allow you to balance molasses, brown sugar, and savory spices exactly the way you like.
No Preservatives or High-Fructose Corn Syrup
Many commercial baked beans contain preservatives or high-fructose corn syrup. In contrast, homemade baked beans rely on simple pantry ingredients and proper pressure canning for preservation.
Cost Savings When Canning in Bulk
Dry beans are inexpensive, especially when purchased in bulk. Therefore, making a large batch of pressure canned baked beans saves money over time.
Customizing Smoke, Spice, and Texture
Because you’re cooking from scratch, you can adjust:
- Smokiness
- Salt level
- Thickness
- Spice intensity
As a result, Home Canned Better Than Bush’s Baked Beans truly taste tailored—not generic.
Ingredients for Home Canned Better Than Bush’s Baked Beans
Simple ingredients create complex flavor.

Choosing the Right Beans
Navy beans are the traditional choice. However, great northern beans also work well. These small white beans hold their shape beautifully after pressure canning.
Always start with dry beans for best texture.
Sweeteners That Create Rich Flavor
Classic sweetness comes from:
- Brown sugar
- Molasses
Molasses gives that deep, signature baked bean flavor.
Molasses, Mustard, and Savory Additions
To build balance, you’ll need:
- Yellow mustard
- Onion
- Garlic
- Salt
- Black pepper
These ingredients create sweet and savory harmony.
Ingredient Measurements Table
| Ingredient | Amount |
|---|---|
| Dry navy beans | 4 cups |
| Water | For soaking and cooking |
| Brown sugar | 1 cup |
| Molasses | 1/2 cup |
| Yellow mustard | 2 tablespoons |
| Onion, finely chopped | 1 cup |
| Garlic, minced | 2 cloves |
| Salt | 1 tablespoon |
| Black pepper | 1 teaspoon |
Step-by-Step Guide to Making Better Than Bush’s Baked Beans
Now let’s walk through the process.
Soaking and Preparing Dry Beans
First, rinse beans thoroughly. Then soak overnight in plenty of water. Alternatively, use a quick soak method by boiling beans for 2 minutes and letting them sit for 1 hour.
After soaking, drain and rinse.
Cooking Beans to the Right Texture
Place soaked beans in a large pot and cover with fresh water. Simmer for about 30 minutes until slightly tender but not fully soft.
Undercooking slightly is important because beans will continue cooking during pressure canning.
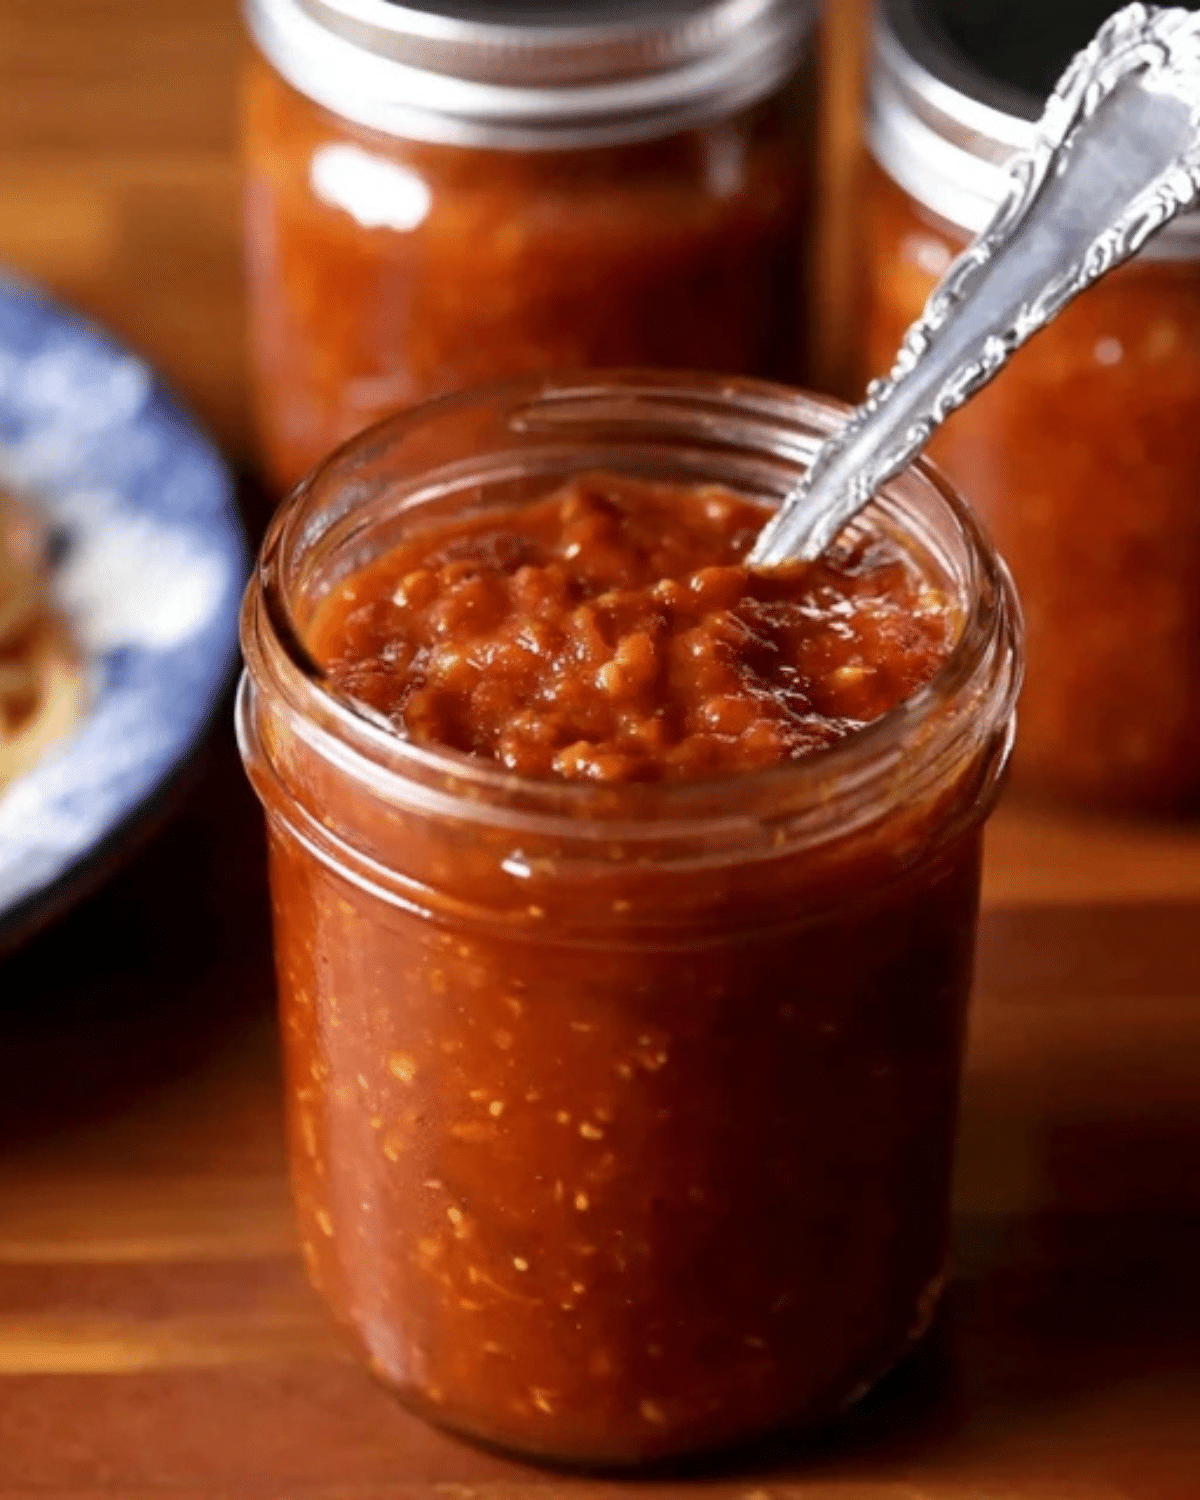
Making the Sweet and Savory Sauce
In a separate bowl, combine:
- Brown sugar
- Molasses
- Mustard
- Salt
- Pepper
Stir until smooth.
Combining Beans and Sauce
Add partially cooked beans, chopped onion, garlic into a large pot. Stir in the sauce mixture and add enough cooking liquid to create a loose consistency.
Because beans thicken during processing, avoid making the mixture too thick.
Filling and Sealing Jars Properly
Ladle hot beans into sterilized jars, leaving 1 inch headspace. Remove air bubbles and wipe rims clean.
Apply lids and screw bands fingertip tight.
Safe Pressure Canning Process for Baked Beans
Why Pressure Canning Is Required
Home Canned Better Than Bush’s Baked Beans are a low-acid food. Therefore, they must be processed using a pressure canner—not a water bath.
According to the USDA Complete Guide to Home Canning (https://nchfp.uga.edu), low-acid foods require pressure canning to destroy harmful bacteria.
Water Bath vs Pressure Canning
Water bath canning is unsafe for baked beans. Pressure canning reaches higher temperatures necessary for safety.
Processing Times and PSI Guidelines
Process:
- Pints: 75 minutes
- Quarts: 90 minutes
Pressure:
- 10 PSI for weighted gauge canner (adjust for altitude)
- 11 PSI for dial gauge canner
Always adjust PSI for altitude.
Altitude Adjustments
Higher elevations require increased pressure levels. Consult official canning charts before processing.
Common Bean Canning Mistakes to Avoid
- Skipping soaking
- Overfilling jars
- Using water bath instead of pressure canner
- Ignoring headspace
Precision ensures safety.
Tips for Thick, Flavorful Home Canned Baked Beans
Achieving the Perfect Sweet and Smoky Balance
Taste before canning. If too sweet, add a splash of vinegar. If too mild, increase mustard slightly.
Preventing Mushy Beans
Do not fully cook beans before canning. Slightly firm beans hold shape better.
Adjusting Thickness Before Canning
Keep sauce slightly thinner than desired. Beans absorb liquid during processing.
How Flavors Improve During Storage
Interestingly, Home Canned Better Than Bush’s Baked Beans taste even better after a few weeks. The flavors deepen and blend beautifully over time.
How to Store and Serve Home Canned Baked Beans
Shelf Life of Pressure Canned Beans
Properly sealed jars last up to 12 months in a cool, dark pantry.
Proper Pantry Storage
Store between 50°F and 70°F away from direct sunlight.
Signs of Spoilage
Discard jars if you notice:
- Bulging lids
- Leaks
- Off smells
- Mold
Never taste suspicious beans.
Serving Ideas for Family Meals and BBQ
Serve Home Canned Better Than Bush’s Baked Beans with:
- Grilled burgers
- BBQ ribs
- Hot dogs
- Cornbread
- Breakfast plates with eggs
They’re a classic side dish that fits nearly any comfort meal.
Nutritional Information of Homemade Baked Beans
Calories and Macronutrients
Baked beans are rich in plant-based protein and fiber. They provide steady energy and satisfying texture.
Sugar and Sodium Comparison to Store Brands
Because you control sweetness and salt, homemade baked beans often contain less sodium and refined sugar than commercial versions.
Are Homemade Baked Beans Healthier?
Yes. With whole ingredients and no artificial additives, Home Canned Better Than Bush’s Baked Beans offer a cleaner alternative.
Frequently Asked Questions About Home Canned Baked Beans
Can you water bath can baked beans?
No. Baked beans require pressure canning because they are low-acid.
How long do pressure canned baked beans last?
Up to 12 months when properly sealed and stored.
Do baked beans thicken after canning?
Yes. Beans absorb liquid during processing and storage.
Can I reduce the sugar in baked beans?
Yes, but keep enough liquid for proper consistency.
Final Thoughts on Making Home Canned Better Than Bush’s Baked Beans
Home Canned Better Than Bush’s Baked Beans combine sweet molasses richness, savory depth, and shelf-stable convenience. Because you control every ingredient and follow proper pressure canning guidelines, you get better flavor and safer results.
Once you taste your own homemade baked beans, you may never return to store-bought again.
PrintHome Canned Better Than Bush’s Baked Beans – Sweet & Savory

Home Canned Better Than Bush’s Baked Beans are sweet, savory, and smoky baked beans made from dry navy beans and pressure canned for safe, shelf-stable storage. This homemade version delivers richer flavor, better texture, and full control over sweetness and seasoning.
- Prep Time: 12 hours soaking plus 30 minutes prep
- Cook Time: 2 hours
- Total Time: 14 hours 30 minutes
- Yield: 7 quarts 1x
- Category: Side Dish
- Method: Pressure Canning
- Cuisine: American
- Diet: Low Fat
Ingredients
- 4 cups dry navy beans
- Water for soaking and cooking
- 1 cup brown sugar
- 1/2 cup molasses
- 2 tablespoons yellow mustard
- 1 cup finely chopped onion
- 2 cloves garlic, minced
- 1 tablespoon salt
- 1 teaspoon black pepper
Instructions
- Rinse dry navy beans thoroughly. Soak overnight in plenty of water or use the quick soak method by boiling for 2 minutes and letting sit for 1 hour. Drain and rinse.
- Place soaked beans in a large pot and cover with fresh water. Simmer for about 30 minutes until slightly tender but not fully soft. Drain, reserving some cooking liquid.
- In a bowl, mix brown sugar, molasses, mustard, salt, and black pepper until smooth.
- Combine partially cooked beans, chopped onion, garlic in a large pot. Stir in the sauce mixture and add enough reserved cooking liquid to create a loose consistency.
- Heat mixture to a gentle simmer for 5 to 10 minutes.
- Ladle hot beans into sterilized jars, leaving 1 inch headspace. Remove air bubbles and wipe rims clean.
- Apply lids and tighten bands fingertip tight.
- Process jars in a pressure canner at 10 PSI for weighted gauge or 11 PSI for dial gauge, adjusting for altitude. Process pints for 75 minutes and quarts for 90 minutes.
- Allow pressure to return to zero naturally. Remove jars and cool undisturbed for 12 to 24 hours. Check seals before storing.
Notes
- Pressure canning is required for baked beans; do not use water bath canning.
- Do not fully cook beans before canning to prevent mushy texture.
- Keep sauce slightly thinner than desired as beans thicken during storage.
- Adjust pressure levels according to altitude guidelines.
- Properly sealed jars can be stored in a cool dark pantry for up to 12 months.
Nutrition
- Serving Size: 1/2 cup
- Calories: 210
- Sugar: 18g
- Sodium: 420mg
- Fat: 3g
- Saturated Fat: 1g
- Unsaturated Fat: 2g
- Trans Fat: 0g
- Carbohydrates: 38g
- Fiber: 8g
- Protein: 9g
- Cholesterol: 5mg