Fall is here, and there’s no better way to bring people together than with a rich, creamy Pumpkin Slab Pie. If you’ve been looking for a foolproof way to serve a classic pumpkin dessert to a big group without baking multiple pies, this slab version is your dream come true. It’s easy to make, loaded with cozy spices, and serves up clean-cut squares of holiday joy. In this guide, you’ll learn how to make a show-stopping pumpkin slab pie that’s as delicious as it is practical. Don’t miss our Pumpkin Cheesecake Truffles for more seasonal indulgence!
JUMP TO
Table of Contents
Why Pumpkin Slab Pie Is the Perfect Dessert for Fall Gatherings
A seasonal twist on a holiday classic
Pumpkin pie has been a staple at Thanksgiving tables for generations. But the slab pie version? It offers a fresh and efficient twist. With all the warm spices, creamy texture, and golden crust you expect from a traditional pie, this version is just super-sized for real-life hosting needs.
What makes slab pies better for serving a crowd
Let’s face it—cutting perfect slices from a round pie for 15+ guests is tricky. Slab pies, made in a sheet pan, give you consistent portions that are easier to serve and store. It’s also quicker to bake one large pie than juggling multiple smaller ones in the oven.
Perfect for Thanksgiving, Friendsgiving, and potlucks
Whether you’re bringing dessert to a potluck or hosting your entire extended family, Pumpkin Slab Pie scales effortlessly. With the ability to serve 12–20 slices, this is the go-to option for holidays and beyond.
Ingredients You Need for the Best Pumpkin Slab Pie
Pie crust essentials
To make the flakiest, buttery slab pie crust from scratch, you’ll need:
- 2 ½ cups all-purpose flour
- 1 teaspoon salt
- 1 cup unsalted butter (chilled and cubed)
- 6–8 tablespoons ice water
Chilling the dough is key to getting those golden, flaky layers.
Rich and creamy pumpkin filling
The filling is the heart of this dessert. Here’s what you’ll need:
- 4 large eggs
- 1 ½ cups granulated sugar
- 2 (15-ounce) cans pumpkin puree (not pie filling)
- 1 teaspoon salt
- 2 teaspoons ground cinnamon
- 1 teaspoon ground ginger
- ½ teaspoon ground cloves
- ½ teaspoon ground nutmeg
- 2 ½ cups evaporated milk
Optional egg wash: 1 egg + 1 tablespoon water for brushing the crust edges.
Optional ingredients for variations and flavor boosts
Want to spice things up?
- Swap white sugar for light brown sugar for a deeper molasses flavor.
- Add a splash of maple syrup or vanilla extract.
- Use heavy cream instead of evaporated milk for an ultra-rich texture.
- Try our twist in Pumpkin S’mores Cookies for inspiration.
How to Make Pumpkin Slab Pie from Scratch
Step 1 – Making and chilling the crust
Start by mixing the flour and salt. Cut in the cold butter using a pastry blender until it resembles coarse crumbs. Slowly add ice water, one tablespoon at a time, just until the dough comes together. Wrap in plastic wrap and chill in the refrigerator for 1–2 hours.
Once chilled, roll out the dough into a large rectangle about ¼ inch thick, big enough to fit your sheet pan (a quarter-sheet or jelly roll pan works best). Carefully transfer it to the pan, trim the edges, and crimp if desired.
Looking for inspiration? Try our Pumpkin Oatmeal Cream Pies for another way to enjoy this seasonal flavor.
Step 2 – Preparing the pumpkin filling
In a large bowl, beat together the eggs and sugar until smooth. Add in the pumpkin puree, salt, cinnamon, ginger, cloves, and nutmeg. Slowly stir in the evaporated milk, mixing until fully combined and creamy.
Pour the filling into the prepared crust and smooth it out with a spatula.
Step 3 – Assembling and baking your slab pie
Brush the pie crust edges with your egg wash for a glossy finish. Bake at 400°F (200°C) for 15 minutes, then reduce heat to 350°F (180°C) and bake for another 25–30 minutes. The center should be set but still slightly wobbly.
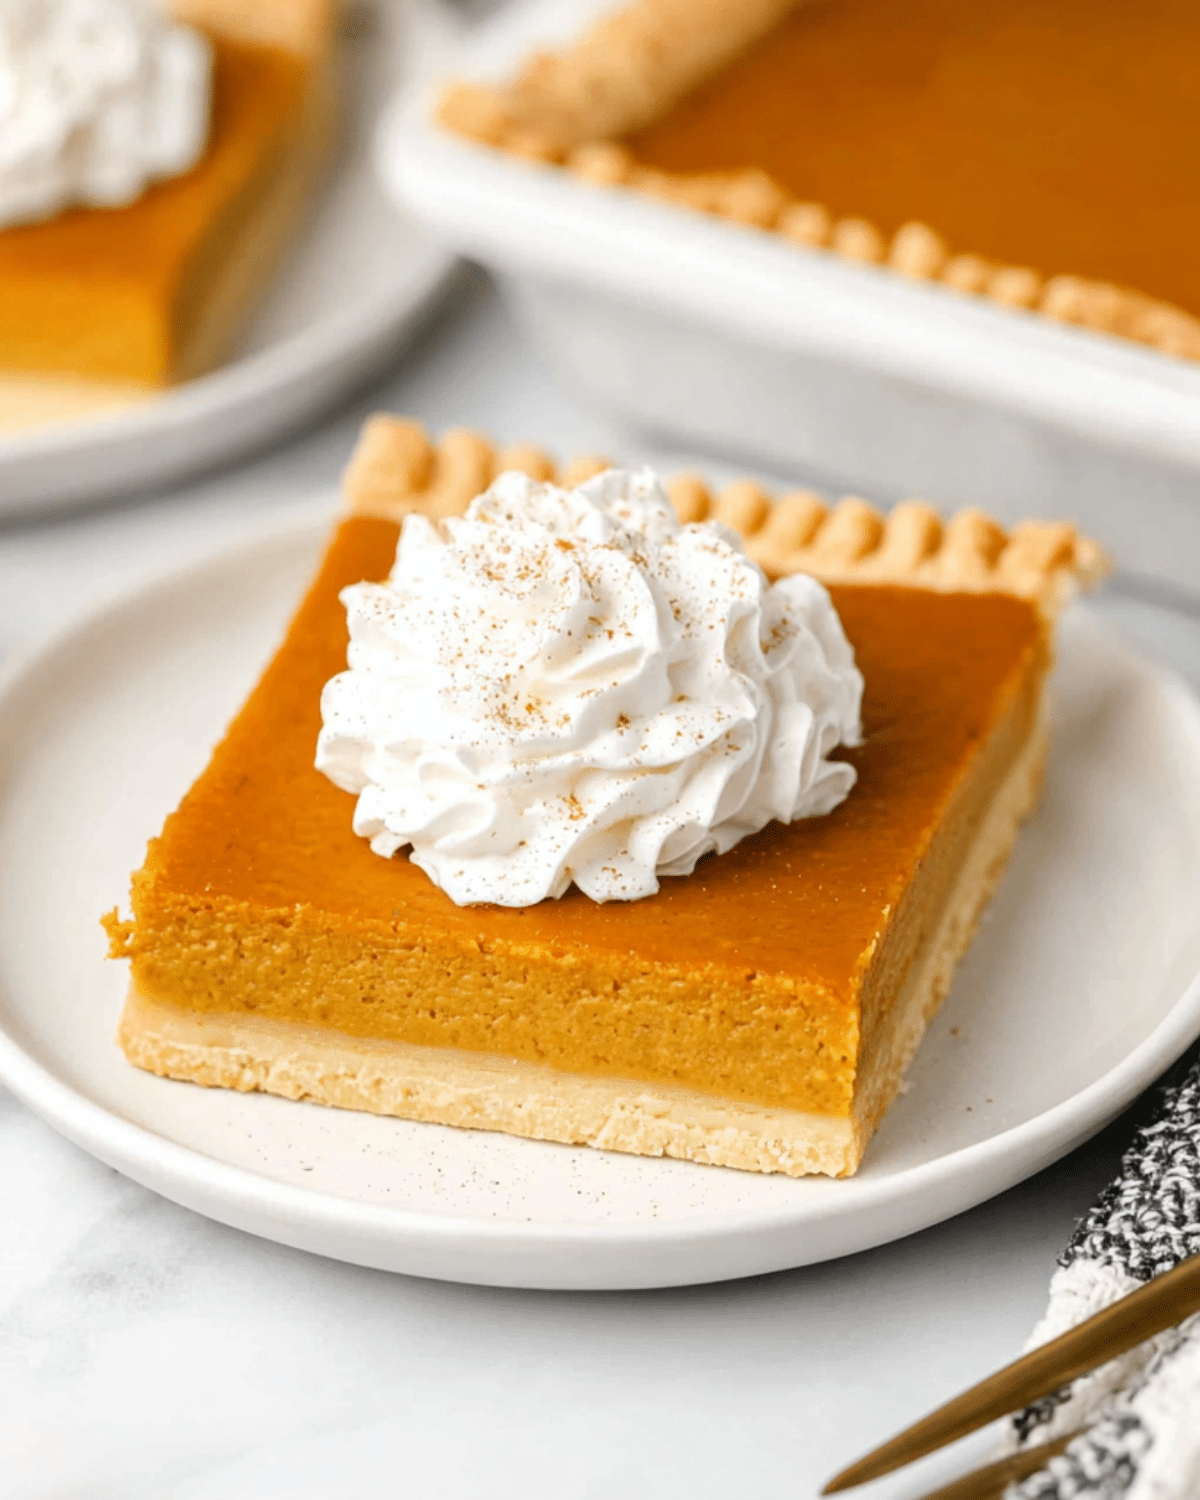
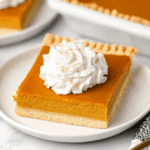
Let the pie cool completely before cutting. Serve with a dollop of whipped cream and a sprinkle of cinnamon.
Check out Soft Pumpkin Cookies with Cream Cheese Frosting for a delicious alternative treat.
Expert Tips to Perfect Your Pumpkin Slab Pie
Crust tips for flaky perfection
The secret to a flaky crust lies in temperature control and dough handling. Always use chilled butter and ice-cold water. This ensures that small pockets of butter remain intact in the dough, creating steam and flakiness when baked. Don’t overwork the dough—mix just until it comes together.
After chilling, roll the dough evenly to avoid thin or thick spots that could lead to burning or sogginess. Always flour your surface and rolling pin to prevent sticking.
Discover great ideas like our Creamy Pumpkin Pasta for another cozy fall recipe using pumpkin.
Preventing cracks and soggy bottoms
To avoid those dreaded surface cracks in your slab pie, don’t overbake. Start checking around the 25-minute mark after reducing the oven temperature. The center should still have a slight jiggle—think cheesecake, not cake.
A soggy bottom can be prevented by blind baking the crust. Though optional, if you want extra insurance, line the raw crust with parchment and fill with pie weights. Bake for 15 minutes, remove the weights, and bake for another 10 minutes before filling.
Blind baking: Is it necessary?
Short answer? It depends. For pumpkin slab pie, blind baking isn’t strictly necessary, especially if you’re short on time or don’t have enough pie weights to cover a large surface.
That said, if you’re aiming for a crisper crust, especially if you’re using a particularly moist filling or a thinner dough, it’s a worthwhile step.
Don’t miss our Pumpkin Cheesecake Cookies if you want another creamy pumpkin dessert without the hassle of blind baking.
How to Store, Freeze, and Reheat Pumpkin Slab Pie
Refrigerator storage tips
Leftovers? No problem. Cover your slab pie with plastic wrap or transfer the squares into an airtight container. Keep it refrigerated and consume within 4 days for the best flavor and texture.
To serve, allow the pie to sit at room temperature for about 15 minutes, or enjoy it cold with a spoonful of whipped cream.
Freezer instructions for longer shelf life
Want to make your Pumpkin Slab Pie ahead of the holidays? Simply freeze it. After the pie cools completely, cut it into individual squares and place them on a parchment-lined tray. Freeze until firm, then wrap each square tightly in plastic wrap and place them into a freezer-safe zip-top bag.
Label with the date. The pie will stay good for up to 2 months. Thaw overnight in the fridge or at room temp for a couple of hours before serving.
Check out our Pumpkin Pie Overnight Oats for a make-ahead breakfast twist using similar flavors.
Best methods to reheat without ruining the texture
To reheat, place the pie slices on a baking tray and warm in a 300°F (150°C) oven for about 10 minutes. This helps maintain the crust’s texture without drying out the filling. Avoid microwaving, as it can make the crust rubbery.
Add whipped cream just before serving to keep things fresh and visually appealing.
Creative Toppings and Serving Suggestions
Homemade whipped cream, spiced nuts & more
While traditional whipped cream is a classic choice, elevate your topping game with:
- Maple whipped cream
- Toasted pecans or walnuts
- Candied ginger
- Cinnamon sugar dusting
- Marshmallow fluff (broiled lightly)
Looking for inspiration? Try this Healthy Pumpkin Brownies Recipe for more fall-forward desserts packed with flavor.
Presentation ideas for a wow effect
Serve on a rustic wood board lined with parchment for a casual look, or use a decorative platter if you’re aiming for upscale. Top each slice individually or set up a DIY toppings bar so guests can dress up their own.
Cut pieces in squares or diamonds and stagger them slightly on a platter for an eye-catching arrangement.
Pairing with fall drinks and sides
Complete your pumpkin slab pie experience with:
- Hot apple cider
- Pumpkin spice lattes
- Chai tea
- Mulled wine
- Bourbon-infused whipped cream
Pair it with savory sides like sharp cheeses, or use it as the grand finale to a classic holiday meal.

FAQ About Pumpkin Slab Pie
Should I blind bake the crust?
Blind baking isn’t required for pumpkin slab pie, but it can help if you want a firmer, crispier crust. It’s tricky with large sheet pans since they need a lot of pie weights, but it’s worth considering if you’re aiming for bakery-level results.
Can I use fresh pumpkin instead of canned?
Yes, you can! However, canned pumpkin puree is more convenient and consistently smooth. If you opt for fresh pumpkin, roast and purée it until velvety to avoid grainy textures.
Why does my pie crack while baking?
Cracks usually mean the pie was overbaked or cooled too quickly. Remove it from the oven as soon as the center jiggles slightly. Cooling gradually at room temperature can also prevent surface cracks.
What’s the best pan size to use for slab pie?
A quarter sheet pan (9×13 inches) or jelly roll pan works best. Jelly roll pans make thicker pies with smaller slices, while sheet pans offer thinner, wider servings. Either way, just ensure your crust reaches the corners for even baking.
Conclusion: Make Pumpkin Slab Pie Your New Fall Tradition
Pumpkin Slab Pie is more than just a twist on the holiday classic—it’s the ultimate solution for feeding a crowd without the stress. From flaky crust to smooth, spice-packed filling, it delivers the flavor you crave in a format built for modern gatherings. Whether you’re serving it up for Thanksgiving, Friendsgiving, or just a chilly weekend, this pie is bound to become a yearly tradition.
Don’t miss our Pumpkin Fluff Recipe for another easy, no-bake way to impress with pumpkin flavor.
PrintPumpkin Slab Pie
Pumpkin Slab Pie is the perfect fall dessert that serves a crowd. Made with a buttery homemade crust and a creamy spiced pumpkin filling, this pie is baked in a sheet pan and is ideal for holidays like Thanksgiving.
- Prep Time: 20 minutes
- Cook Time: 45 minutes
- Total Time: 1 hour 5 minutes
- Yield: 12–20 servings
- Category: Dessert
- Method: Baking
- Cuisine: American
- Diet: Vegetarian
Ingredients
- 2 ½ cups all-purpose flour
- 1 teaspoon salt
- 1 cup unsalted butter, chilled
- 6–8 tablespoons ice cold water
- 4 large eggs
- 1 ½ cups granulated sugar
- 2 (15-ounce) cans pumpkin puree
- 1 teaspoon salt
- 2 teaspoons ground cinnamon
- 1 teaspoon ground ginger
- ½ teaspoon ground cloves
- ½ teaspoon ground nutmeg
- 2 ½ cups evaporated milk
- 1 egg (for egg wash)
- 1 tablespoon water (for egg wash)
Instructions
- In a medium bowl, combine flour and salt. Cut in chilled butter until the mixture resembles coarse crumbs.
- Add ice water one tablespoon at a time until the dough holds together. Wrap and chill for 1–2 hours.
- Roll the dough into a ¼-inch thick rectangle and fit it into a quarter-sheet or jelly roll pan. Trim and crimp edges.
- In another bowl, beat eggs and sugar until dissolved. Add pumpkin puree, salt, cinnamon, ginger, cloves, and nutmeg. Stir in evaporated milk until smooth.
- Pour the filling into the crust. Brush the edges with egg wash.
- Bake at 400°F (200°C) for 15 minutes, then reduce to 350°F (180°C) and bake for 25–30 minutes more, until the center is set.
- Cool completely at room temperature before slicing and serving.
Notes
- Blind baking the crust is optional but helps keep the bottom crispy.
- Use canned pumpkin puree for consistent results.
- Substitute brown sugar for a deeper flavor.
- Wrap and refrigerate leftovers for up to 4 days.
- Freeze individual squares for longer storage—up to 2 months.