Wendy’s Frosty is one of the most loved frozen desserts, and honestly, it’s not hard to see why. This creamy, chocolatey treat sits somewhere between a milkshake and soft-serve ice cream, making it totally unique. In this guide, you’ll learn exactly how to recreate a rich and smooth Wendy’s Frosty at home using simple ingredients and easy steps. Along the way, we’ll break down what makes it special, how to choose the best ingredients, and how to get that perfect thick texture every single time.
JUMP TO
Table of Contents
What Makes Wendy’s Frosty So Unique and Irresistible
The History Behind Wendy’s Famous Frosty
Wendy’s Frosty has been around since the very beginning of the Wendy’s brand. When the restaurant first opened, the Frosty was one of only a few items on the menu. Because of its simple yet rich flavor, it quickly became a signature dessert. Over time, it gained a loyal following, and even today, it remains one of the most recognizable frozen treats in the United States.
Frosty Texture vs Milkshake: Key Differences
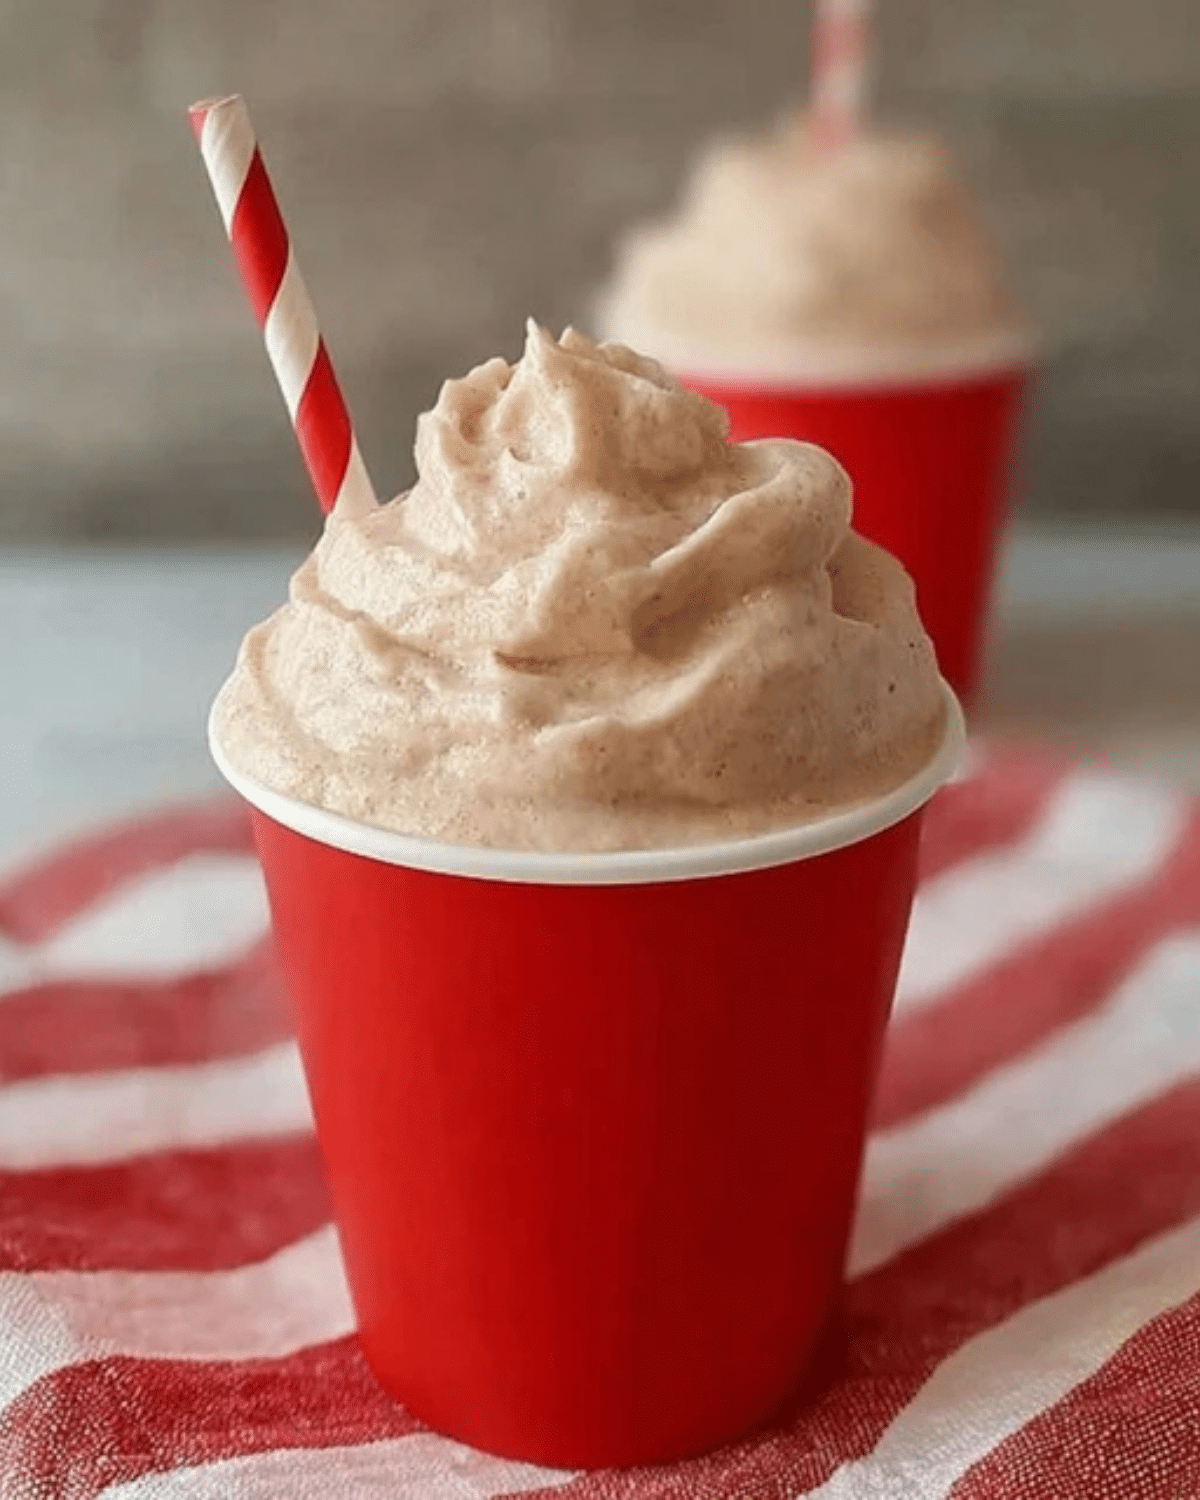
At first glance, you might think a Wendy’s Frosty is just another milkshake. However, that’s not quite right. A Frosty is much thicker than a typical milkshake but softer than traditional ice cream. Because of this balance, you can sip it with a straw or scoop it with a spoon. This texture is achieved by carefully controlling the ratio of ingredients and the freezing process, which gives it that smooth and creamy consistency.
Why Everyone Loves This Classic Chocolate Treat
There’s something incredibly satisfying about the taste of a Wendy’s Frosty. It’s not overly sweet, which makes it different from many other desserts. Instead, it has a mild chocolate flavor that feels light yet indulgent at the same time. Because of this, it pairs perfectly with almost any meal or can be enjoyed on its own as a refreshing treat.
Flavor Profile and Signature Creamy Consistency
The flavor of a Wendy’s Frosty is subtle but rich. Unlike strong chocolate desserts, it leans toward a softer cocoa taste. Meanwhile, the texture is where it truly shines. It’s thick enough to hold its shape but smooth enough to melt in your mouth. Achieving this balance at home may seem tricky, but with the right approach, it becomes surprisingly simple.
Ingredients Needed for a Perfect Wendy’s Frosty at Home

Simple Pantry Ingredients Breakdown
Making a Wendy’s Frosty at home doesn’t require anything fancy. In fact, most of the ingredients are likely already in your kitchen. Typically, you’ll need milk, cocoa powder, sugar, and a creamy base such as whipped topping or ice cream. These simple components come together to create that signature flavor and texture.
Choosing the Right Cocoa Powder and Milk
The type of cocoa powder you use can make a big difference. For a more authentic taste, go for unsweetened cocoa powder with a smooth finish. Meanwhile, whole milk works best because it adds richness and helps achieve the creamy consistency that defines a Wendy’s Frosty. If you use low-fat milk, the texture may turn out thinner than expected.
Healthy Substitutions and Dairy-Free Options
If you’re looking to make a lighter version, there are several easy swaps you can try. For example, you can use plant-based milk like almond or oat milk. Additionally, a low-sugar sweetener can help reduce calories without sacrificing too much flavor. While these changes slightly alter the taste, they still deliver a satisfying frozen dessert.
Tips for Selecting High-Quality Ingredients
Quality matters more than you might think. Using fresh milk and high-quality cocoa powder will noticeably improve the final result. Also, avoid overly processed ingredients when possible. The better your ingredients, the closer your homemade Wendy’s Frosty will taste to the original.
Step-by-Step Guide to Making Wendy’s Frosty
Preparation Before Blending
Before you start, it’s important to have everything ready because timing plays a big role in getting the perfect Wendy’s Frosty texture. First, gather all your ingredients and make sure they are cold. Cold ingredients help the mixture thicken faster, which is exactly what you want. Meanwhile, place your mixing bowl or blender jar in the freezer for about 10–15 minutes. This small step makes a noticeable difference in consistency.
Next, measure your ingredients carefully. Too much liquid can make your Frosty runny, while too little can make it overly thick and hard to blend. So, keeping the balance right is key from the very beginning.
Blending Process for Smooth Texture
Once everything is prepped, add your milk, cocoa powder, sugar, and creamy base into the blender. Start blending on a low speed, then gradually increase it. This helps combine the ingredients evenly without creating lumps.
As you blend, you’ll notice the mixture becoming smooth and creamy. However, don’t over-blend. If you do, the mixture may become too thin. Instead, stop once everything is well combined and has a silky texture.
If the mixture looks too thick at this stage, you can add a small splash of milk. On the other hand, if it seems too thin, adding a bit more creamy base can fix it quickly.
Freezing Tips for Authentic Frosty Thickness
After blending, pour the mixture into a shallow container. Then, place it in the freezer for about 1 to 2 hours. However, don’t just leave it untouched. Every 30 minutes, take it out and stir it well. This step prevents ice crystals from forming and keeps the texture smooth.
Eventually, you’ll notice the mixture thickening into that signature Wendy’s Frosty consistency. It should be firm but still scoopable. That’s when you know it’s ready to serve.
Common Mistakes to Avoid While Making Frosty
Even though the process is simple, a few common mistakes can affect your results. First, using warm ingredients can lead to a watery texture. So always start with cold items.
Another mistake is skipping the stirring step during freezing. Without stirring, the Frosty may turn icy instead of creamy. Also, adding too much sugar can overpower the mild chocolate flavor that makes a Wendy’s Frosty so special.
Lastly, avoid rushing the freezing process. While it might be tempting to serve it quickly, giving it enough time to set properly makes all the difference.
Expert Tips to Achieve the Original Wendy’s Frosty Texture
How to Get the Perfect Thickness
Getting that perfect thickness is what truly defines a Wendy’s Frosty. To achieve it, focus on the balance between liquid and solid ingredients. A slightly thicker mixture before freezing usually leads to the best final result.
Additionally, chilling the mixture before freezing can help it set faster and more evenly. This small trick can save time while improving texture.
Best Equipment to Use at Home
While you don’t need professional tools, having the right equipment can make things easier. A high-speed blender works best because it creates a smoother mixture. However, a standard blender or even a hand mixer can still do the job if used properly.
A shallow, wide container is also important for freezing. It allows the mixture to freeze evenly, which helps you achieve that classic Wendy’s Frosty consistency.
Storage and Re-Freezing Tips
If you have leftovers, you can store your Wendy’s Frosty in an airtight container in the freezer. However, keep in mind that it may harden over time.
When you’re ready to enjoy it again, let it sit at room temperature for a few minutes. Then, give it a quick stir to bring back its creamy texture. Avoid repeated freezing and thawing, as this can affect both taste and consistency.
How Long Should You Freeze It
Timing is everything when making a Wendy’s Frosty. Typically, 1 to 2 hours is enough to reach the ideal texture. However, this can vary depending on your freezer and the depth of your container.
If you freeze it for too long, it may become too solid. In that case, simply let it soften slightly before serving. On the other hand, if it hasn’t thickened enough, give it more time and continue stirring at intervals.
Creative Variations of Wendy’s Frosty You Can Try
Vanilla Frosty Version
While the classic Wendy’s Frosty is known for its chocolate flavor, the vanilla version has also become a favorite. To make it, simply skip the cocoa powder and add a splash of vanilla extract instead. As a result, you’ll get a lighter, sweeter flavor that still keeps that creamy and smooth texture.
Additionally, this version pairs well with toppings like fresh fruit or crushed cookies. So, if you’re looking for something a bit different, this variation is definitely worth trying.
Chocolate Lovers Enhanced Version
If you want a richer taste, you can easily boost the chocolate flavor. For example, adding a small amount of melted dark chocolate or extra cocoa powder will deepen the taste. However, be careful not to overdo it, since the original Wendy’s Frosty is known for its mild chocolate profile.
Moreover, you can mix in chocolate chips after blending for a slightly textured finish. This adds a fun twist while still keeping the dessert smooth overall.
Protein-Packed Frosty Option
For those who want a more filling treat, turning your Wendy’s Frosty into a protein-packed version is a smart idea. Simply add a scoop of chocolate or vanilla protein powder during blending. Not only does this increase the nutritional value, but it also makes the Frosty more satisfying.
At the same time, you may need to adjust the milk slightly to maintain the right consistency. This way, you won’t lose that signature creamy texture.
Kid-Friendly Fun Flavor Ideas
If you’re making this treat for kids, there are plenty of creative ways to make it more exciting. For instance, you can blend in a banana for natural sweetness or add a spoon of peanut butter for a nutty flavor.
You could also top the Wendy’s Frosty with colorful sprinkles or crushed graham crackers. These small additions can turn a simple dessert into something fun and memorable.
Nutritional Value and Health Considerations
Calories and Sugar Content Overview
A traditional Wendy’s Frosty is a sweet treat, so it naturally contains sugar and calories. However, when you make it at home, you have full control over what goes into it. Because of this, you can easily adjust the ingredients to match your dietary needs.
For example, reducing sugar or using alternative sweeteners can lower the calorie count without sacrificing too much flavor.
How to Make a Healthier Frosty
If you’re aiming for a healthier version, there are several simple changes you can make. Using low-fat milk or plant-based milk is a great start. Additionally, replacing sugar with natural sweeteners can help cut down on refined sugar intake.
Another option is to reduce the creamy base slightly and balance it with ice. While this changes the texture a bit, it still delivers a refreshing and enjoyable result.
Portion Control Tips
Even though a Wendy’s Frosty is delicious, moderation is important. Serving smaller portions can help you enjoy the treat without overindulging.
You can also use smaller cups or bowls to naturally limit portion size. This simple trick makes it easier to manage your intake while still enjoying every bite.
Comparing Homemade vs Store-Bought Frosty
Homemade versions of Wendy’s Frosty often have fewer additives compared to store-bought options. Plus, you can customize the ingredients to suit your taste and preferences.
On the other hand, the original version has a very consistent texture and flavor that’s hard to replicate perfectly. Still, with the right technique, your homemade version can come very close and sometimes even taste fresher.
FAQs About Wendy’s Frosty
How do you make a Wendy’s Frosty at home?
To make a Wendy’s Frosty at home, blend milk, cocoa powder, sugar, and a creamy base until smooth. Then freeze the mixture while stirring every 30 minutes until it reaches a thick and creamy consistency.
Why is Wendy’s Frosty not like regular ice cream?
A Wendy’s Frosty is softer and less dense than ice cream. It also has a lighter chocolate flavor and a texture that sits between a milkshake and soft serve.
Can you make Wendy’s Frosty without heavy cream?
Yes, you can make a Wendy’s Frosty without heavy cream. Using milk and a whipped or creamy base still delivers a smooth and satisfying texture.
How long does homemade Frosty last in the freezer?
Homemade Wendy’s Frosty can last up to one week in the freezer when stored in an airtight container. However, for the best texture and flavor, it’s recommended to enjoy it within a few days.
Conclusion: Enjoy Your Homemade Wendy’s Frosty Anytime
Making your own Wendy’s Frosty at home is not only simple but also incredibly rewarding. With just a few basic ingredients and the right technique, you can recreate this classic frozen treat whenever you want.
Moreover, the ability to customize flavors and adjust ingredients makes it even better than the original in many ways. Whether you prefer the classic chocolate version or want to experiment with new ideas, this recipe gives you complete flexibility.
In the end, a homemade Wendy’s Frosty delivers the same creamy texture and satisfying taste that everyone loves, all from the comfort of your kitchen.
PrintWendy’s Frosty Recipe – Easy and Delicious Copycat Treat

A creamy and smooth Wendy’s Frosty copycat recipe you can easily make at home using simple ingredients, delivering the perfect balance between a milkshake and soft-serve dessert.
- Prep Time: 10 minutes
- Cook Time: 0 minutes
- Total Time: 1 hour 40 minutes
- Yield: 4 servings 1x
- Category: Dessert
- Cuisine: American
- Diet: Vegetarian
Ingredients
- 2 cups cold whole milk
- 1/2 cup unsweetened cocoa powder
- 1/2 cup granulated sugar
- 2 cups vanilla ice cream or whipped topping
- 1 teaspoon vanilla extract (optional)
Instructions
- Chill all ingredients and place your blender jar in the freezer for 10–15 minutes before starting.
- Add milk, cocoa powder, sugar, vanilla extract, and ice cream into the blender.
- Blend on low speed, then gradually increase until the mixture becomes smooth and creamy.
- Pour the mixture into a shallow container.
- Freeze for 1 to 2 hours, stirring every 30 minutes to maintain a smooth texture.
- Once thick and creamy, serve immediately and enjoy.
Notes
- Use cold ingredients for the best thick and creamy texture.
- Stir during freezing to avoid ice crystals.
- Adjust sweetness based on your preference.
- Do not over-blend to prevent a runny consistency.
- Let it sit for a few minutes before serving if too firm.
Nutrition
- Serving Size: 1 cup
- Calories: 320 kcal
- Sugar: 35 g
- Sodium: 120 mg
- Fat: 12 g
- Saturated Fat: 7 g
- Unsaturated Fat: 4 g
- Trans Fat: 0 g
- Carbohydrates: 45 g
- Fiber: 2 g
- Protein: 6 g
- Cholesterol: 30 mg