Homemade Cheez-Its are a game changer for snack lovers. Instead of grabbing a store-bought box, you can now enjoy a fresh, crispy, and cheesy snack made right in your kitchen. This article will walk you through everything you need to know, from ingredients to expert tips, so you can create perfectly crunchy crackers every time.
JUMP TO
Table of Contents
What Are Homemade Cheez-Its and Why You’ll Love Them
The Story Behind Cheez-Its
Cheez-Its have been a favorite snack in the USA for decades. Originally created as a simple baked cheese cracker, they quickly became popular for their bold cheddar flavor and crispy texture. However, making them at home takes things to a whole new level, giving you full control over ingredients and taste.
Why Homemade Cheez-Its Taste Better
There’s something special about making your own snacks. Homemade Cheez-Its are fresher, richer, and more flavorful than store-bought versions. Because you’re using real cheese and simple ingredients, the taste is more authentic. Plus, you can adjust the seasoning to suit your preferences.
Flavor and Texture You Can Expect
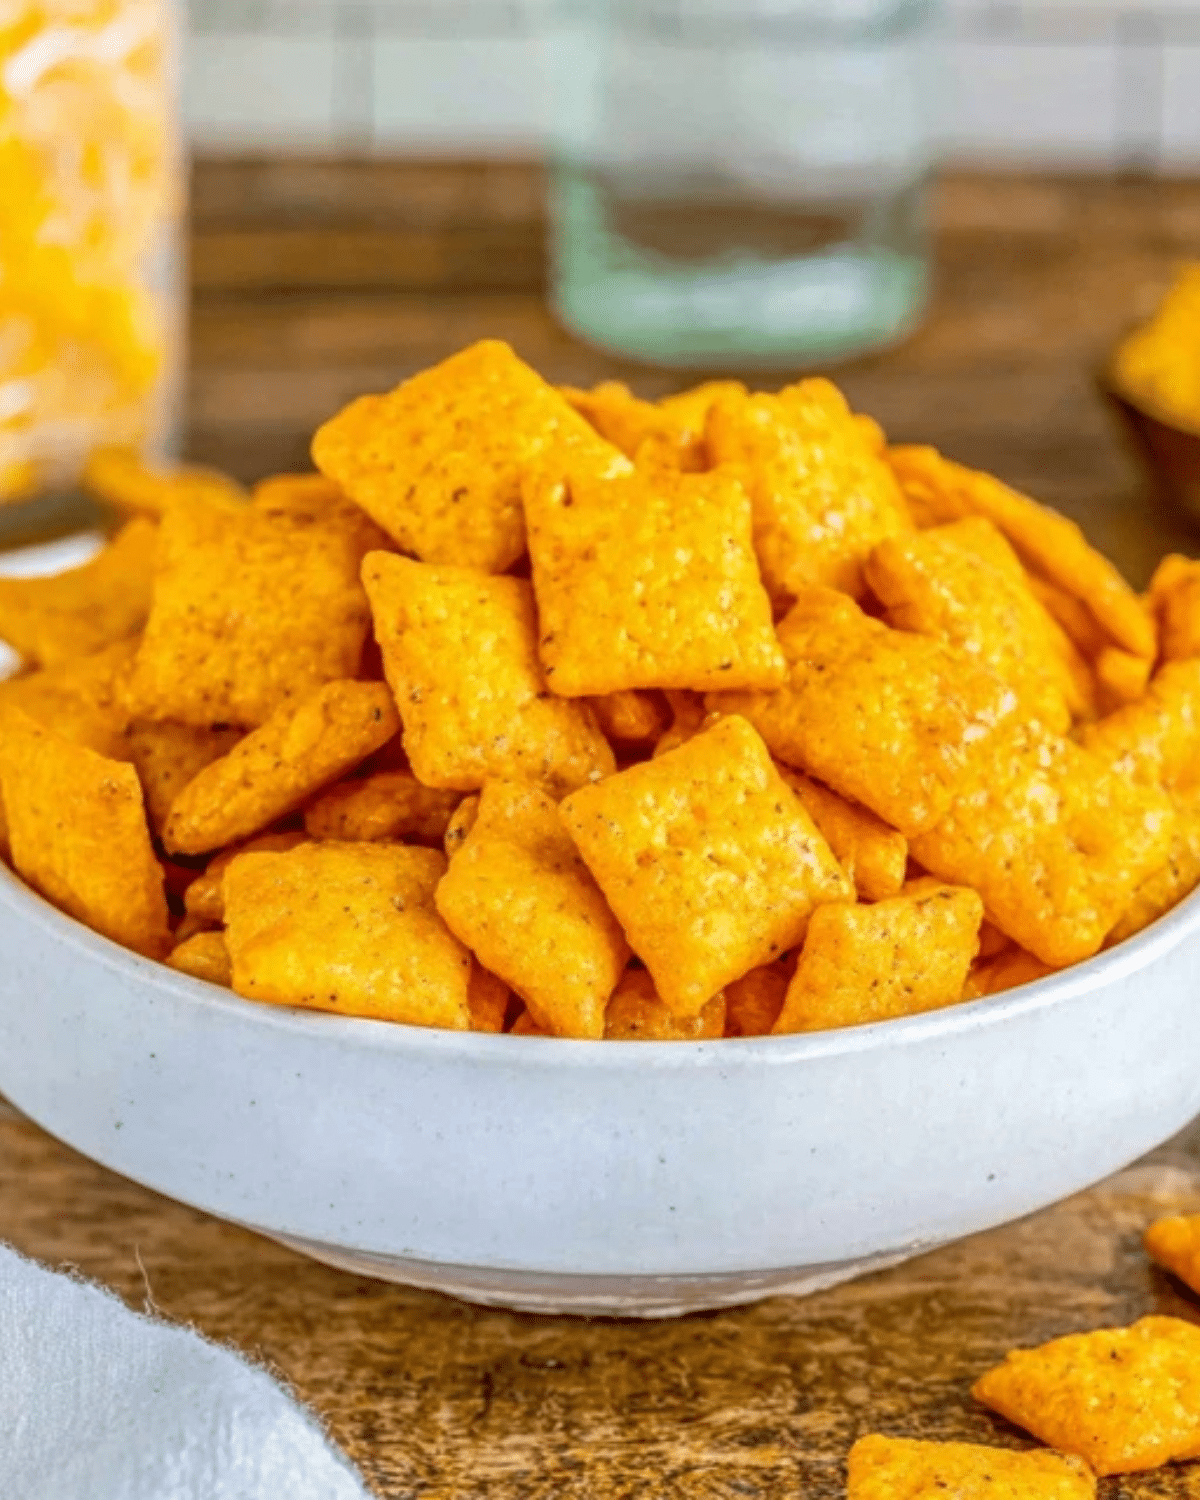
These crackers are perfectly crisp with a strong cheesy flavor. Each bite delivers a satisfying crunch followed by a rich, savory taste. Unlike processed snacks, homemade Cheez-Its have a natural, buttery texture that makes them even more enjoyable.
Popularity of Homemade Snacks in the USA
Recently, more people in the USA have started making snacks at home. Not only is it more cost-effective, but it also allows for healthier and customizable options. Homemade Cheez-Its fit perfectly into this trend, offering a fun and easy way to enjoy a classic snack.
Ingredients for Homemade Cheez-Its

Essential Ingredients You’ll Need
To make Homemade Cheez-Its, you only need a few simple ingredients. These include sharp cheddar cheese, all-purpose flour, butter, salt, and a little cold water. Each ingredient plays an important role in creating the perfect dough and texture.
Choosing the Right Cheese for Bold Flavor
The type of cheese you use makes a big difference. Sharp cheddar is the best choice because it gives that classic Cheez-Its flavor. However, you can also experiment with other cheeses like mild cheddar or a mix of different varieties for a unique twist.
Optional Add-Ins for Extra Taste
If you want to elevate your Homemade Cheez-Its, consider adding spices like paprika, garlic powder, or onion powder. These simple additions can enhance the flavor and make your crackers even more addictive.
Ingredient Table for Easy Reference
| Ingredient | Quantity | Purpose |
|---|---|---|
| Sharp cheddar cheese | 2 cups (shredded) | Main flavor base |
| All-purpose flour | 1 cup | Forms the dough |
| Butter | 4 tbsp (cold) | Adds richness |
| Salt | 1/2 tsp | Enhances flavor |
| Cold water | 2–3 tbsp | Binds the dough |
Kitchen Tools Needed for Perfect Crackers
Basic Tools for Beginners
You don’t need fancy equipment to make Homemade Cheez-Its. A mixing bowl, rolling pin, baking sheet, and parchment paper are enough to get started. These basic tools help you prepare and bake the crackers بسهولة.
Optional Tools for Better Results
For more precise shapes, you can use a pizza cutter or a small square cookie cutter. Additionally, a fork or skewer can be used to poke holes in each cracker, giving them that classic look.
Prep Tips Before You Start
Before you begin, make sure your butter is cold and your cheese is freshly shredded. These small steps help create a better dough and improve the final texture. Also, preheat your oven so it’s ready when your crackers are shaped.
Step-by-Step Homemade Cheez-Its Recipe
Making the Dough
To start your Homemade Cheez-Its, combine the shredded cheddar cheese, flour, salt, and cold butter in a mixing bowl. Then, using your hands or a pastry cutter, blend everything together until the mixture becomes crumbly. As you continue mixing, slowly add cold water, one tablespoon at a time, until the dough begins to come together.
Once the dough forms, shape it into a ball. At this point, the texture should be firm but not sticky. If it feels too dry, add a tiny bit more water. After that, wrap the dough in plastic wrap and refrigerate it for about 20–30 minutes. This step is essential because it helps firm up the butter, making the dough easier to roll out later.
Rolling and Cutting the Crackers
After chilling, remove the dough from the refrigerator and place it on a lightly floured surface. Then, roll it out into a thin sheet, about 1/8 inch thick. The thinner the dough, the crispier your Homemade Cheez-Its will be.
Next, use a pizza cutter or knife to cut the dough into small squares. Try to keep them uniform so they bake evenly. Then, use a toothpick or skewer to poke a small hole in the center of each square. Not only does this give them their classic look, but it also helps them bake properly.
Baking to Crispy Perfection
Preheat your oven to 350°F (175°C) if you haven’t already. Then, transfer the cut squares onto a parchment-lined baking sheet, leaving a little space between each piece.
Bake the crackers for about 12–15 minutes, or until the edges turn lightly golden. Keep a close eye on them during the last few minutes, because they can go from perfectly crisp to overdone quickly. Once baked, remove them from the oven and let them cool on the tray.
Cooling and Serving Tips
As the Homemade Cheez-Its cool, they will become even crispier. Therefore, allow them to sit for at least 10 minutes before serving. This step is often overlooked, but it makes a big difference in texture.
Serve them as a snack, pack them in lunchboxes, or pair them with dips for extra flavor. Because they are homemade, they taste best fresh, but they can also be stored for later.
Expert Tips for the Best Homemade Cheez-Its
Common Mistakes to Avoid
One common mistake is using pre-shredded cheese. While it may seem convenient, it often contains additives that affect the texture. Instead, always shred your own cheese for better results.
Another mistake is rolling the dough too thick. If the dough is not thin enough, the crackers may turn out soft instead of crispy. So, aim for an even, thin layer when rolling.
How to Get Extra Crunchy Texture
If you want extra crunchy Homemade Cheez-Its, roll the dough slightly thinner and bake them a bit longer. However, be careful not to burn them. Additionally, letting them cool completely before storing helps maintain their crispiness.
Storage and Shelf Life Tips
To keep your Homemade Cheez-Its fresh, store them in an airtight container at room temperature. They usually stay crispy for up to 5 days. If they lose some crunch, you can reheat them in the oven for a few minutes to bring them back to life.
Fun Variations of Homemade Cheez-Its
Spicy Cheez-Its
If you enjoy a little heat, add paprika, cayenne pepper, or chili powder to the dough. These spices give your Homemade Cheez-Its a bold and spicy kick that’s hard to resist.
Whole Wheat or Healthier Options
For a healthier twist, you can replace part of the all-purpose flour with whole wheat flour. This adds a slightly nutty flavor while increasing fiber content. Although the texture may be a bit denser, the taste is still delicious.
Cheese Blend Variations
While cheddar is the classic choice, mixing in other cheeses can create exciting new flavors. Try combining cheddar with parmesan or mozzarella for a unique taste. This simple variation can completely change the flavor profile of your crackers.
FAQs About Homemade Cheez-Its
Why are my crackers not crispy?
If your Homemade Cheez-Its are not crispy, it usually means the dough was rolled too thick or they weren’t baked long enough. Therefore, always roll the dough thin and bake until the edges turn golden. Also, letting them cool completely is key, since they continue to crisp up after baking.
Can I freeze homemade Cheez-Its dough?
Yes, you can freeze the dough for later use. Simply wrap it tightly and store it in the freezer for up to 2 months. When you’re ready to use it, thaw it in the refrigerator overnight. This makes Homemade Cheez-Its a convenient snack you can prepare ahead of time.
How long do homemade Cheez-Its last?
Homemade Cheez-Its typically last up to 5 days when stored in an airtight container at room temperature. However, for the best taste and texture, it’s recommended to enjoy them within the first couple of days.
Can I make them gluten-free?
Yes, you can make Homemade Cheez-Its gluten-free by using a gluten-free flour blend. While the texture may vary slightly, they still turn out crispy and flavorful when baked properly.
Conclusion: Why You Should Try Homemade Cheez-Its Today
Homemade Cheez-Its are a simple yet incredibly satisfying snack that brings together bold cheese flavor and a perfectly crispy texture. Because they are easy to prepare and require only a few ingredients, they are ideal for both beginners and experienced home cooks. Moreover, making them at home allows you to customize flavors, control ingredients, and enjoy a fresher alternative to store-bought snacks.
Whether you’re preparing them for a quick snack, a party, or a lunchbox treat, Homemade Cheez-Its are always a hit. With the step-by-step guide, helpful tips, and creative variations shared above, you now have everything you need to make this delicious snack right in your own kitchen.
PrintHomemade Cheez-Its – Crispy and Delicious Snack Recipe

Homemade Cheez-Its are crispy, cheesy baked crackers made with simple ingredients, delivering a bold cheddar flavor and perfect crunch in every bite.
- Prep Time: 15 minutes
- Cook Time: 15 minutes
- Total Time: 30 minutes
- Yield: 4 servings 1x
Ingredients
- 2 cups sharp cheddar cheese (freshly shredded)
- 1 cup all-purpose flour
- 4 tablespoons cold butter
- 1/2 teaspoon salt
- 2–3 tablespoons cold water
- Optional: 1/4 teaspoon paprika or garlic powder for extra flavor
Instructions
- In a mixing bowl, combine shredded cheddar cheese, flour, salt, and cold butter.
- Mix until the texture becomes crumbly.
- Add cold water gradually, one tablespoon at a time, until the dough comes together.
- Form the dough into a ball, wrap it, and refrigerate for 20–30 minutes.
- Preheat oven to 350°F (175°C).
- Roll out the dough on a floured surface to about 1/8 inch thickness.
- Cut into small squares using a knife or pizza cutter.
- Poke a small hole in the center of each square.
- Place on a parchment-lined baking sheet.
- Bake for 12–15 minutes until edges are lightly golden.
- Let cool for 10 minutes before serving to allow crisping.
Notes
- Always use freshly shredded cheese for best texture and flavor.
- Roll dough thin for crispier crackers.
- Do not overbake to avoid bitterness.
- Let crackers cool completely to achieve maximum crunch.
- Store in an airtight container at room temperature for up to 5 days.
Nutrition
- Serving Size: 1 serving
- Calories: 180
- Sugar: 1g
- Sodium: 220mg
- Fat: 12g
- Saturated Fat: 7g
- Unsaturated Fat: 4g
- Trans Fat: 0g
- Carbohydrates: 12g
- Fiber: 0.5g
- Protein: 6g
- Cholesterol: 30mg