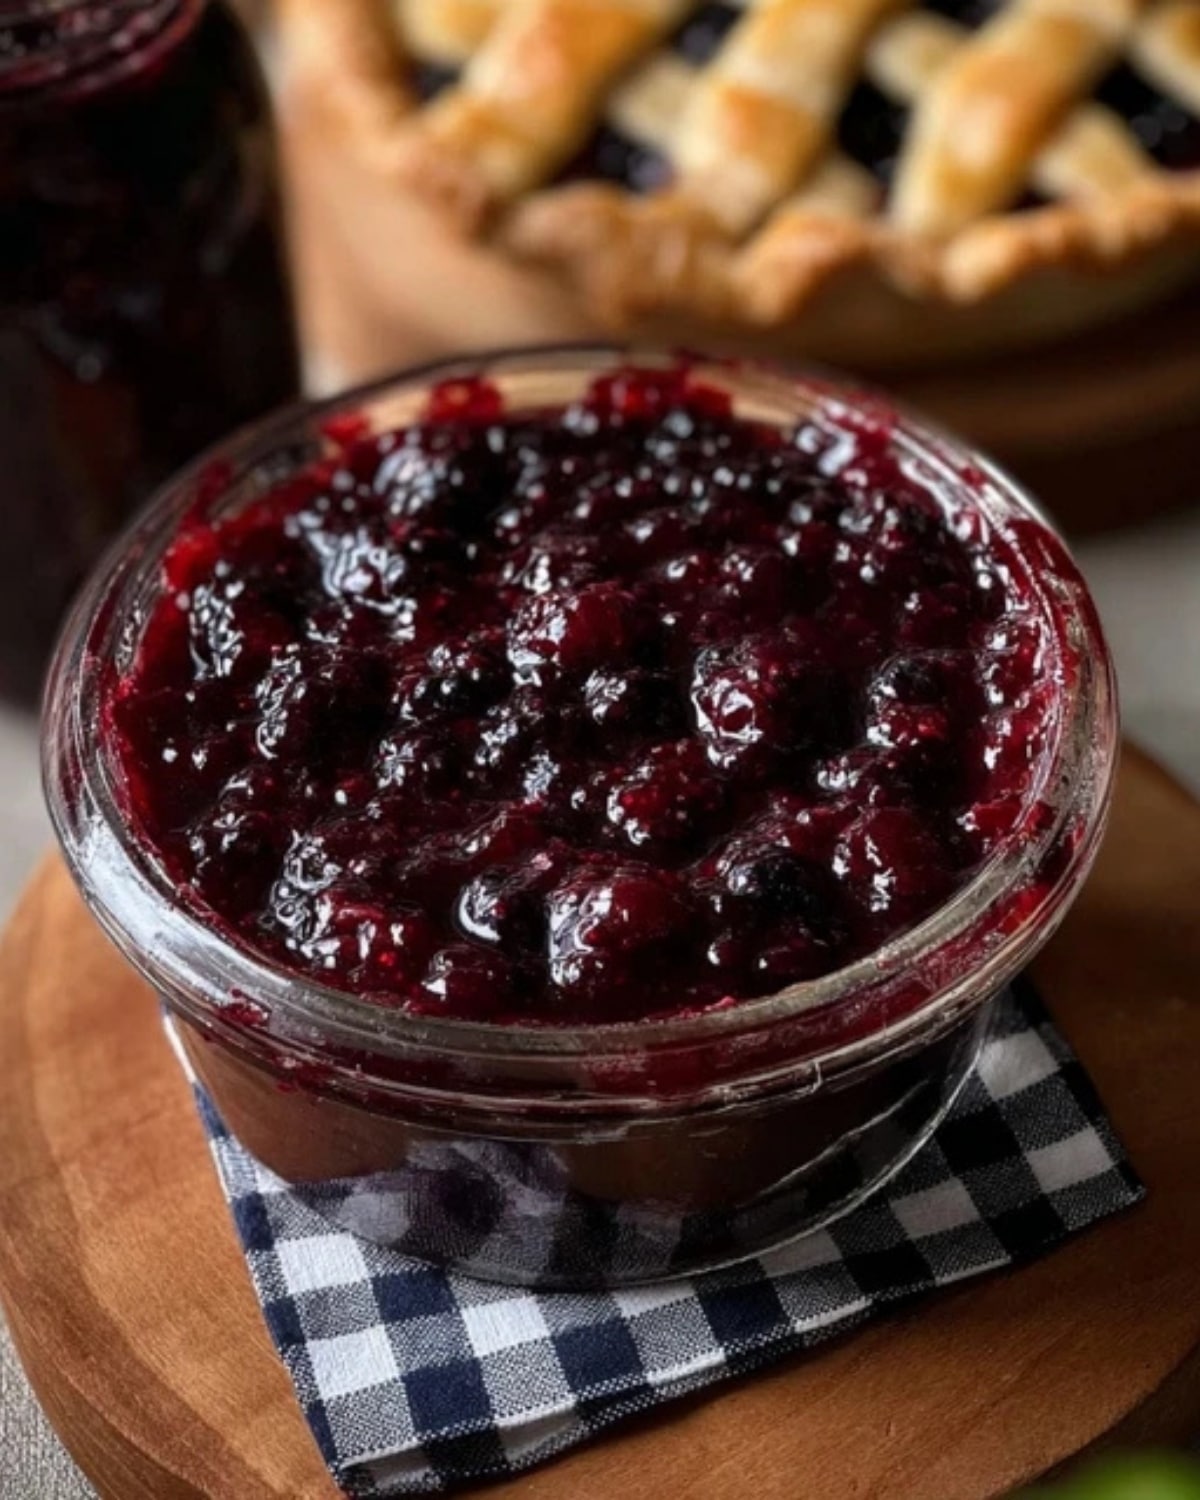
Mulberry pie filling is one of those old-fashioned treasures that instantly brings back memories of summer baking. Whether you picked fresh mulberries from your backyard tree or grabbed a frozen bag from the store, making mulberry pie filling from scratch is surprisingly simple. Even better, it tastes far richer and fresher than anything canned.
In this guide, you’ll learn exactly how to make thick, glossy, and perfectly sweet mulberry pie filling at home. We’ll cover ingredients, step-by-step cooking instructions, thickening tips, storage methods, and expert tricks to prevent a runny pie. By the end, you’ll have a foolproof recipe that works every time.
For more fruit-based dessert ideas, you can explore other homemade recipes on RecipesShots for seasonal inspiration.
JUMP TO
Table of Contents
What Is Mulberry Pie Filling and Why It’s So Special
Mulberry pie filling is a cooked fruit mixture made with mulberries, sugar, thickener, and a splash of lemon juice. While it’s similar to other berry fillings, it has a unique depth of flavor that truly sets it apart.
What Do Mulberries Taste Like?
Mulberries are often compared to blackberries, but they’re usually sweeter and less tart. Some varieties have a honey-like richness, while others bring a gentle tang. Because of this balance, mulberry pie filling naturally tastes smooth, fruity, and well-rounded.
Unlike raspberries, mulberries don’t have a sharp bite. And unlike blueberries, they’re slightly juicier. As a result, they create a filling that’s soft, lush, and beautifully textured.
Why Homemade Mulberry Pie Filling Is Better Than Store-Bought
Although canned pie filling might seem convenient, homemade mulberry pie filling wins every time. Here’s why:
- No artificial preservatives
- Adjustable sweetness
- Better texture control
- Fresh, natural berry flavor
Moreover, when you make it at home, you control the thickness. That means no overly runny pie and no gummy texture either.
Fresh vs Frozen Mulberries for Mulberry Filling
You can use either fresh or frozen berries for mulberry pie filling. However, there are small differences to keep in mind.
Fresh mulberries:
- Best during peak summer season
- Slightly firmer texture
- Brighter flavor
Frozen mulberries:
- Available year-round
- May release more juice
- Need slightly more thickener
If using frozen berries, don’t thaw them fully before cooking. Instead, add them straight to the saucepan and adjust the cornstarch slightly if needed.
Ingredients for the Perfect Result
Making mulberry pie filling requires simple pantry staples. Yet, when combined correctly, they create magic.

Essential Ingredients for Mulberry Pie Filling
Here’s what you’ll need:
- 4 cups fresh or frozen mulberries
- ¾ to 1 cup granulated sugar (adjust to taste)
- 3 tablespoons cornstarch
- 2 tablespoons lemon juice
- 1 teaspoon vanilla extract
- ¼ cup water
Each ingredient plays an important role. The sugar enhances the berries’ natural sweetness. Meanwhile, lemon juice brightens the flavor and balances the sweetness. Cornstarch thickens the mixture, giving it that classic glossy pie filling texture.
Ingredient Substitutions and Variations
If you prefer a twist, there are easy swaps:
- Use honey instead of sugar for a deeper sweetness
- Replace cornstarch with arrowroot or tapioca starch
- Add a pinch of cinnamon for warmth
- Reduce sugar for a more tart mulberry pie filling
However, always maintain proper thickener ratios to avoid watery filling.
Ingredient Measurement Table
| Ingredient | Quantity | Purpose |
|---|---|---|
| Mulberries | 4 cups | Main fruit base |
| Sugar | ¾–1 cup | Sweetness balance |
| Cornstarch | 3 tbsp | Thickening agent |
| Lemon Juice | 2 tbsp | Flavor brightness |
| Vanilla Extract | 1 tsp | Depth of flavor |
| Water | ¼ cup | Helps dissolve thickener |
How to Make Mulberry Filling Step by Step
Now let’s walk through the exact process of making mulberry pie filling. Thankfully, it comes together quickly.
Step 1: Prepare the Mulberries
First, rinse fresh mulberries gently under cool water. Then, remove any stems or debris. If using frozen berries, measure them directly from the freezer.
Next, set them aside while you prepare the thickener mixture.
Step 2: Combine Ingredients in a Saucepan
In a medium saucepan, combine:
- Mulberries
- Sugar
- Lemon juice
- Water
Place the pan over medium heat. As the mixture warms, the berries will begin releasing their juices. Stir occasionally to prevent sticking.
Meanwhile, in a small bowl, mix cornstarch with 1–2 tablespoons of water to create a smooth slurry. This step prevents clumping.
Step 3: Thicken the Mulberry Filling
Once the berries are bubbling gently, slowly pour in the cornstarch slurry while stirring continuously. Almost immediately, you’ll notice the mixture thickening.
Continue cooking for 3–5 minutes. The mulberry pie filling should become glossy and coat the back of a spoon. If it looks too thin, cook for another minute. If it seems too thick, add a tablespoon of water.
Finally, remove from heat and stir in vanilla extract.
How to Tell When Mulberry Filling Is Done
You’ll know your mulberry pie filling is ready when:
- It bubbles slowly and evenly
- It leaves a clear path when you run a spoon through it
- It thickens further as it cools
Keep in mind that fruit fillings always thicken more after cooling. So don’t overcook it.
According to the National Center for Home Food Preservation, proper thickening is essential for safe fruit preservation and pie stability, especially if you plan to can or store it long term.
Tips to Prevent Runny or Watery Mulberry Filling
Even though making mulberry pie filling is simple, texture can make or break your pie. Thankfully, with a few smart adjustments, you can avoid a watery mess and get that perfectly thick, sliceable consistency every time.
Use the Correct Thickener Ratio
First of all, balance is key. For 4 cups of mulberries, 3 tablespoons of cornstarch usually works well. However, if your berries are extra juicy, you may need an additional half tablespoon.
On the other hand, adding too much thickener can create a gummy texture. Therefore, always start with the recommended amount and adjust slightly if needed.
Cook Until Fully Activated
Cornstarch only thickens properly once it reaches a gentle boil. So, if your mulberry pie filling looks thin at first, don’t panic. Instead, keep stirring and allow it to bubble for at least 1–2 minutes. As a result, the starch activates and thickens the mixture evenly.
Let It Cool Before Judging Consistency
Interestingly, hot filling always appears thinner than cooled filling. So, after cooking your mulberry pie filling, allow it to cool at room temperature. As it cools, it will naturally firm up.
If you pour hot filling straight into a pie crust, it may seem runny. However, once baked and cooled, it should slice cleanly.
Avoid Overloading the Pie Crust
When using mulberry pie filling in a traditional pie, don’t overfill the crust. Although it may be tempting, too much filling increases the chance of bubbling over and thinning out the texture.
Instead, use about 3–4 cups per standard 9-inch pie.
Baking Tips for Using Mulberry Filling in Pies
Now that your mulberry filling is thick and glossy, let’s make sure it bakes beautifully.
Blind Bake for Extra Crispness
If you prefer a crisp bottom crust, blind baking helps prevent sogginess. Simply pre-bake the crust for 10–12 minutes before adding the mulberry pie filling.
Consequently, the crust stays firm even with juicy fruit.
Vent the Top Crust Properly
If you’re making a double-crust pie, always cut vents in the top. Otherwise, steam gets trapped, and the filling may bubble unevenly.
Alternatively, a lattice crust works beautifully and allows moisture to escape naturally.
Bake Until Bubbling in the Center
Many people remove pies too early. Instead, bake until the mulberry pie filling bubbles in the center, not just at the edges. This ensures the filling sets fully.
Typically, bake at 375°F for 45–55 minutes.
Creative Ways to Use MulberryFilling
While mulberry pie filling is perfect for pies, that’s just the beginning. In fact, this versatile fruit filling works in many desserts.
Classic Mulberry Pie
Of course, the traditional 9-inch pie remains the most popular option. The sweet-tart berry flavor pairs wonderfully with flaky pastry.
Mulberry Hand Pies
For a portable treat, spoon mulberry pie filling into small pastry circles, fold, seal, and bake. These are great for picnics and lunchboxes.
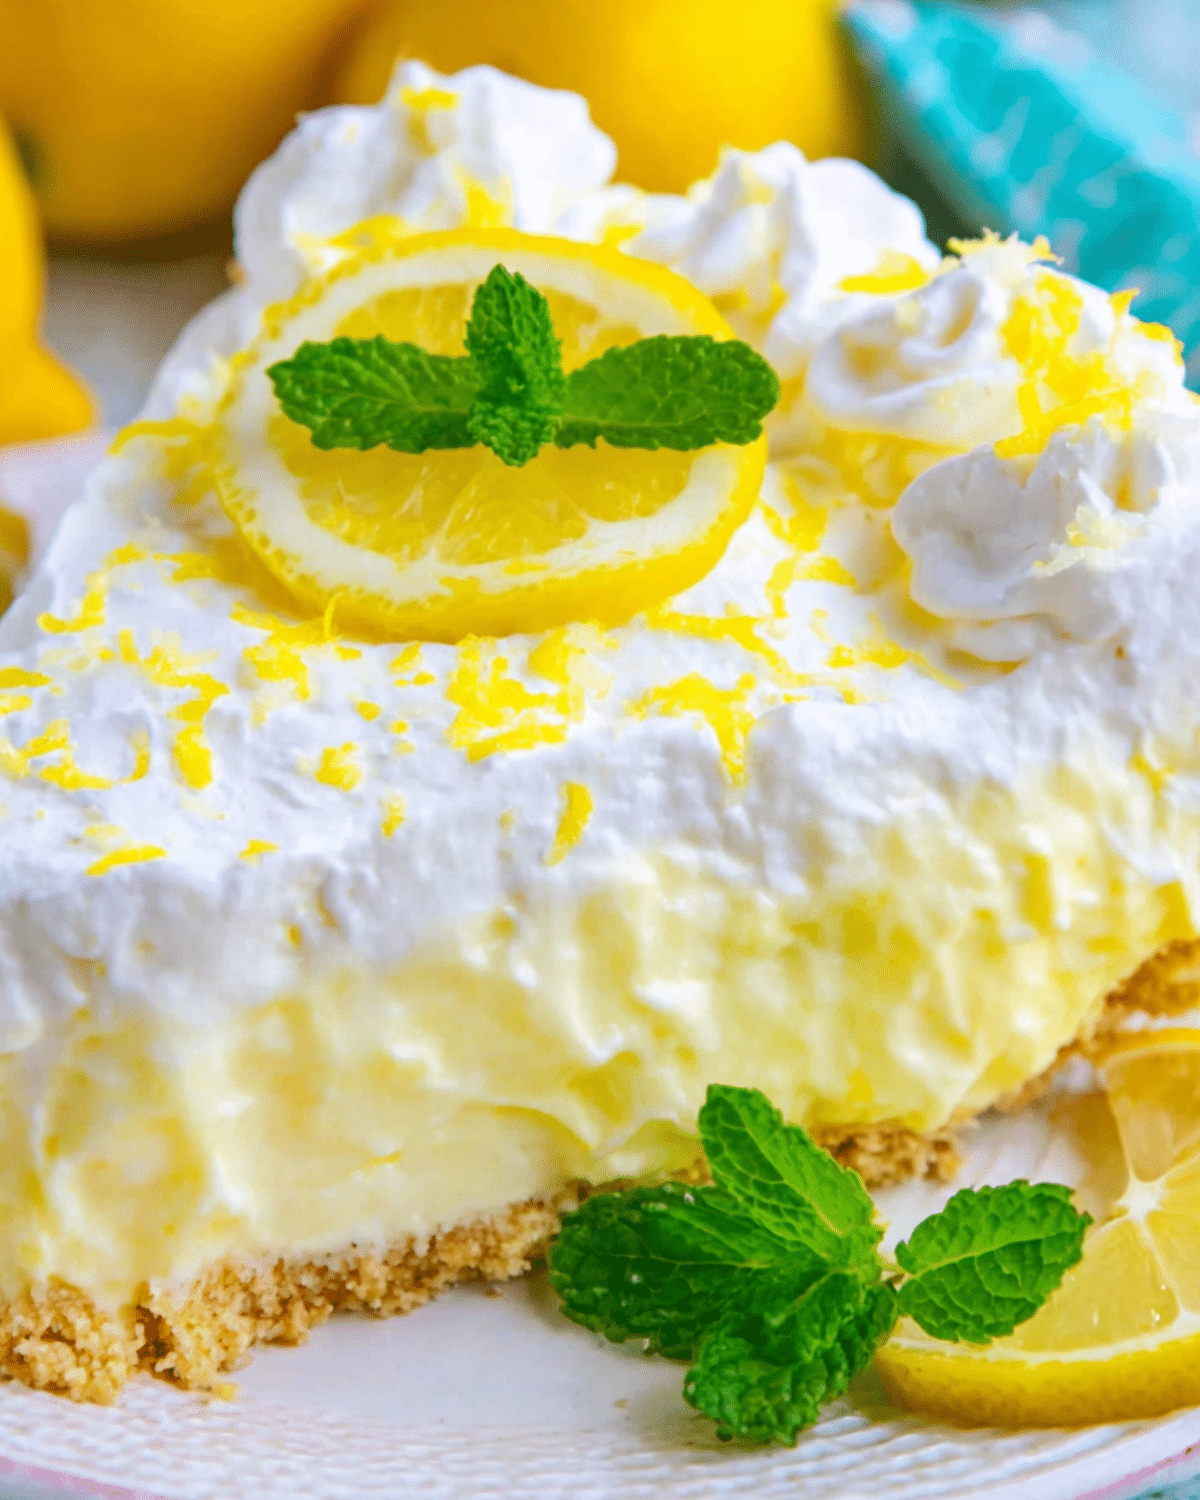
Cheesecake Topping
Once cooled, mulberry pie filling becomes a stunning topping for cheesecake. The glossy berries add both flavor and color.
Pancakes and Waffles
Warm the mulberry pie filling slightly and drizzle over pancakes or waffles. It works better than syrup and adds a fresh fruit taste.
Cake or Tart Filling
You can also layer mulberry pie filling between cake layers or spoon it into tart shells. Because it holds its shape well, it won’t soak through delicate pastry.
How to Store and Preserve Mulberry Pie Filling
Proper storage keeps your mulberry pie filling fresh and safe.
Refrigerator Storage
After cooling completely, transfer the mulberry pie filling into an airtight container. It will last up to 4–5 days in the refrigerator.
Before using, stir gently to restore texture.
Freezing Mulberry Pie Filling
If you want to store it longer, freezing works beautifully. Place cooled mulberry pie filling into freezer-safe containers, leaving some headspace for expansion.
It can last up to 3 months in the freezer. When ready to use, thaw overnight in the refrigerator.
Canning Mulberry Pie Filling Safely
If you’re planning long-term storage, proper canning is essential. According to the National Center for Home Food Preservation (https://nchfp.uga.edu), fruit pie fillings must follow tested guidelines to ensure safety and shelf stability.
Always use sterilized jars and follow approved water-bath canning methods.
Frequently Asked Questions About Mulberry Pie Filling
How do you thicken mulberry pie filling?
To thicken mulberry pie filling, use cornstarch, tapioca starch, or arrowroot. Most importantly, bring the mixture to a gentle boil so the starch activates properly.
Can I use frozen mulberries?
Yes, frozen mulberries work perfectly for mulberry pie filling. Simply add them directly to the saucepan and slightly adjust the thickener if they release extra juice.
Why is my mulberry pie filling runny?
Runny mulberry pie filling usually happens when there isn’t enough thickener or the mixture didn’t boil long enough. Additionally, cutting into the pie before it cools completely can cause it to appear watery.
Can I make mulberry pie filling ahead of time?
Absolutely. In fact, making mulberry pie filling ahead allows flavors to deepen. Store it in the refrigerator for up to five days before using.
Conclusion: Why Homemade Mulberry Pie Filling Is Worth It
Without a doubt, making mulberry pie filling from scratch is worth every minute. Not only does it taste fresher than store-bought versions, but it also gives you full control over sweetness and texture. Moreover, because you can use fresh or frozen berries, it’s a year-round dessert solution.
Whether you bake a classic pie, spoon it over cheesecake, or drizzle it on pancakes, mulberry pie filling delivers bold berry flavor in every bite. Once you try this homemade version, you’ll never go back to canned filling again.
If the provided sitemap contains no valid links, no internal links were added as requested.
PrintMulberry Pie Filling – Sweet & Perfectly Thick Recipe

Mulberry pie filling made from scratch with fresh or frozen mulberries, perfectly sweetened and thickened for pies, tarts, and desserts.
- Prep Time: 10 minutes
- Cook Time: 10 minutes
- Total Time: 20 minutes
- Yield: About 3 1/2 to 4 cups filling 1x
- Category: Dessert
- Method: Microwave or Stovetop
- Cuisine: American
- Diet: Vegetarian
Ingredients
- 4 cups fresh or frozen mulberries
- 3/4 to 1 cup granulated sugar
- 3 tablespoons cornstarch
- 2 tablespoons lemon juice
- 1 teaspoon vanilla extract
- 1/4 cup water
Instructions
- Rinse fresh mulberries gently under cool water and remove any stems. If using frozen mulberries, measure them directly from the freezer.
- In a medium saucepan over medium heat, combine mulberries, sugar, lemon juice, and water. Stir occasionally as the berries release their juices.
- In a small bowl, mix cornstarch with 1–2 tablespoons of water to create a smooth slurry.
- Once the berry mixture begins to bubble, slowly pour in the cornstarch slurry while stirring constantly.
- Continue cooking for 3–5 minutes until the filling thickens and becomes glossy, coating the back of a spoon.
- Remove from heat and stir in the vanilla extract.
- Allow the mulberry pie filling to cool completely before using in pies or storing.
Notes
- If using frozen mulberries, you may need an extra 1/2 tablespoon of cornstarch due to added moisture.
- The filling will thicken more as it cools, so avoid overcooking.
- Store in an airtight container in the refrigerator for up to 5 days.
- Freeze for up to 3 months in freezer-safe containers.
- For a smoother texture, lightly mash some of the berries while cooking.
Nutrition
- Serving Size: 1/2 cup
- Calories: 120
- Sugar: 18g
- Sodium: 5mg
- Fat: 0g
- Saturated Fat: 0g
- Unsaturated Fat: 0g
- Trans Fat: 0g
- Carbohydrates: 30g
- Fiber: 2g
- Protein: 1g
- Cholesterol: 0mg