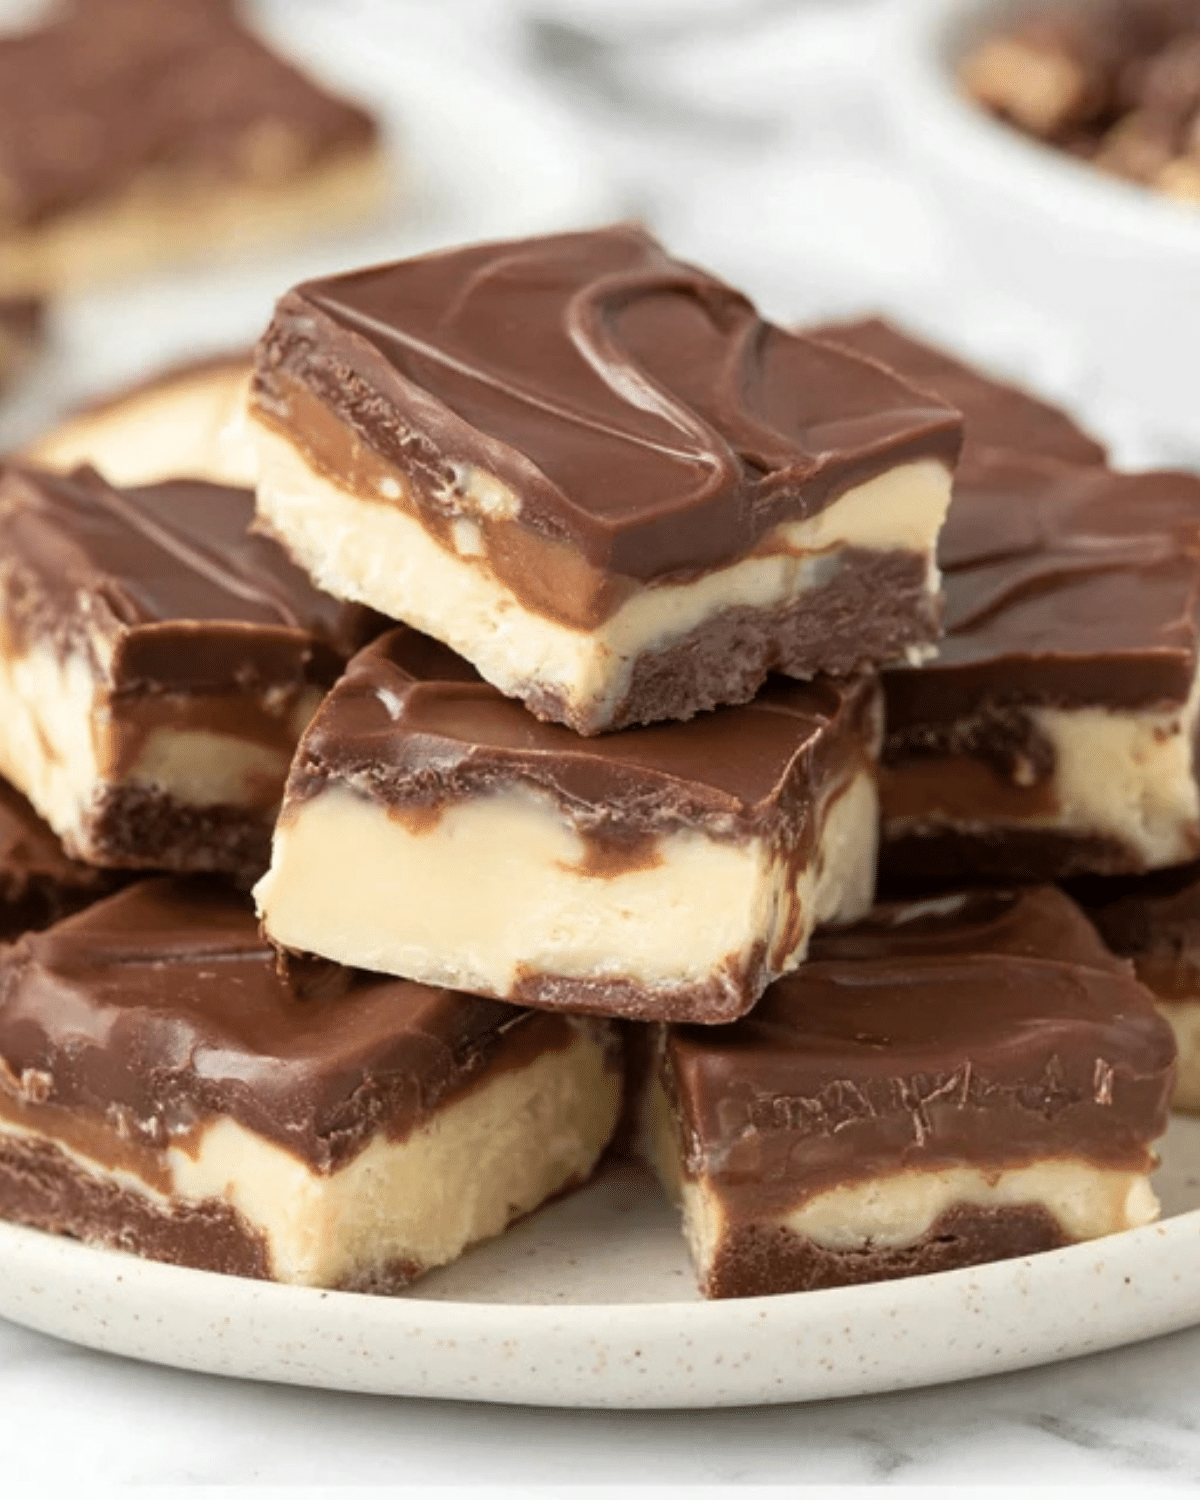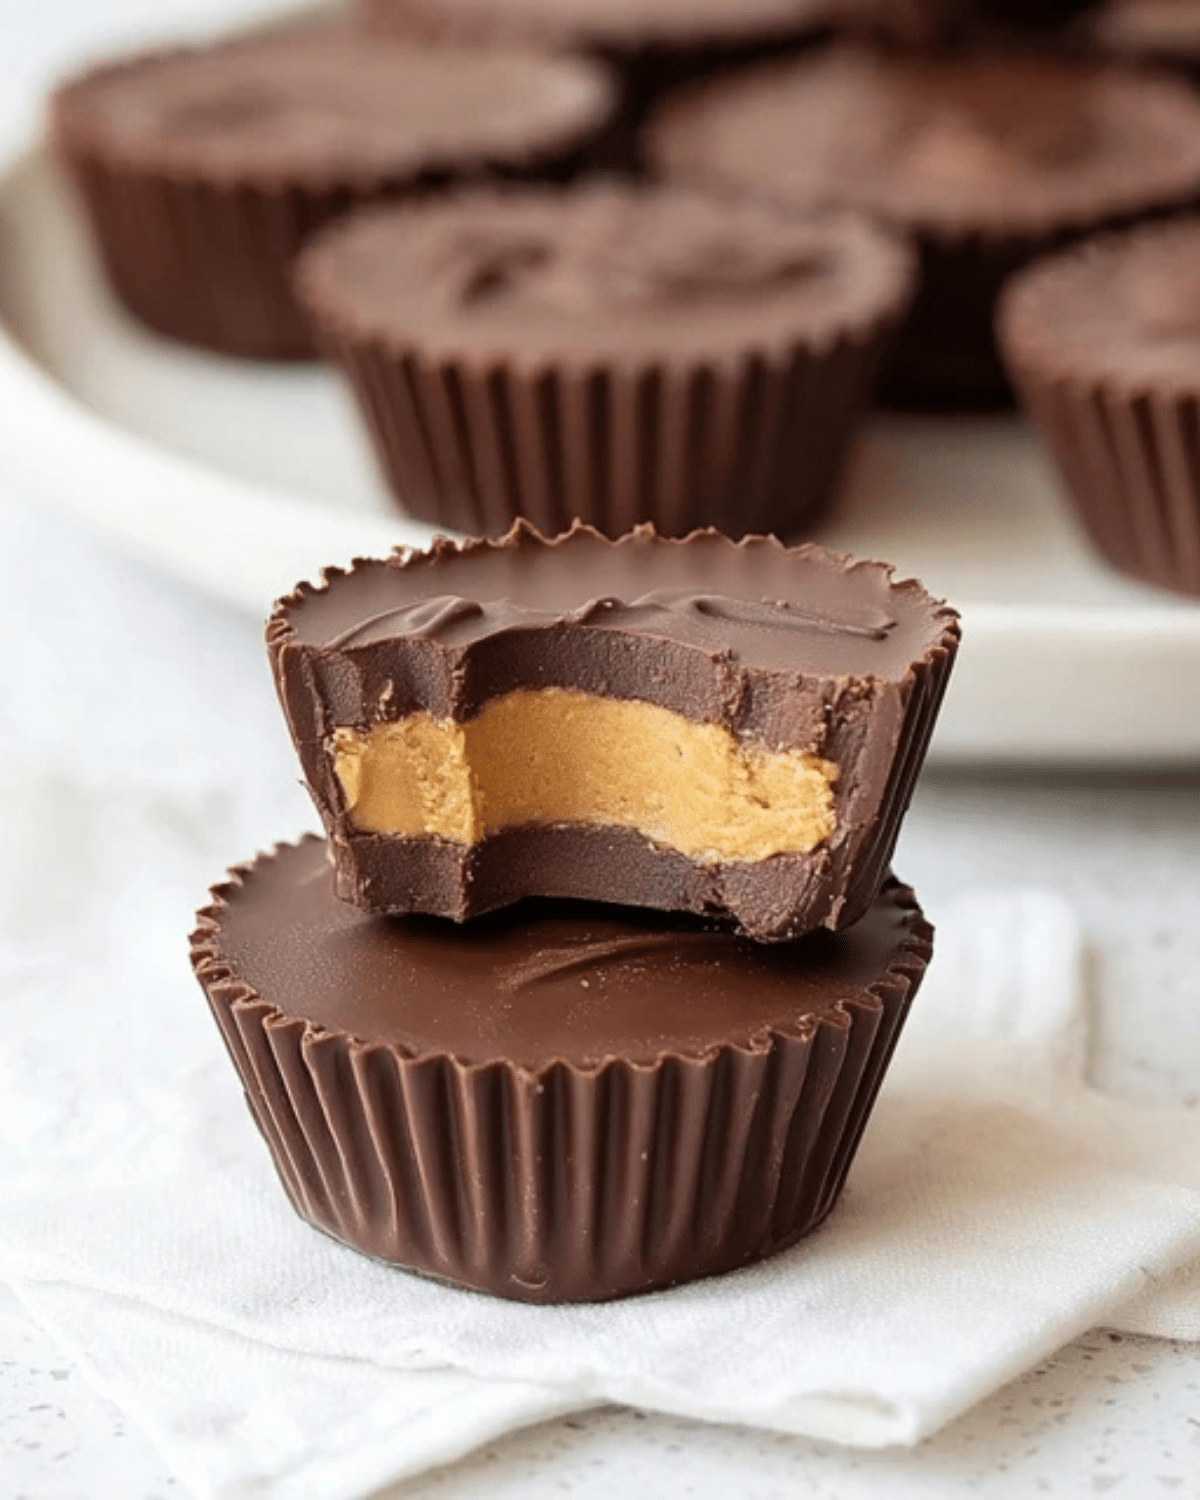
Reese’s dessert cups are a rich, creamy, and irresistible treat that combines smooth chocolate with a sweet and nutty filling. These Reese’s dessert cups are perfect for anyone who loves simple no-bake desserts that still deliver big flavor. Because they require minimal ingredients and no oven time, they are ideal for quick snacks, parties, or homemade gifts.
In this complete guide, you’ll learn how to make the best Reese’s dessert cups from scratch. Not only will we walk through the process step by step, but we’ll also share helpful tips to get the perfect texture and flavor every time. Additionally, you’ll discover common mistakes to avoid so your dessert turns out smooth, firm, and delicious. Whether you’re making them for a special occasion or just a sweet craving, this recipe is easy to follow and always satisfying.
Reese’s Dessert Cups Overview and Flavor Profile
What Are Reese’s Dessert Cups
Reese’s dessert cups are no-bake treats made with layers of chocolate and a creamy peanut butter filling. They are inspired by classic chocolate peanut butter cups but are easy to make at home.
Because of their simple process, they are perfect for beginners and anyone looking for a quick dessert option.
Why Reese’s Dessert Cups Are So Popular
These treats are popular because they combine two classic flavors—chocolate and peanut butter. The combination creates a rich and balanced taste that appeals to many people.
In addition, they are easy to customize and can be made in different sizes or shapes.
Texture and Flavor Breakdown
The texture is smooth and slightly firm, with a creamy center and a rich chocolate coating. The peanut butter filling adds a soft contrast to the chocolate layers.
As a result, each bite delivers a satisfying mix of sweet and slightly salty flavors.
Ingredients for the Best Reese’s Dessert Cups

Essential Ingredients Breakdown
To make Reese’s dessert cups, you’ll need a few simple ingredients.
| Ingredient | Purpose |
|---|---|
| Chocolate chips or bars | Forms the outer layer |
| Peanut butter | Creates the filling |
| Powdered sugar | Adds sweetness and structure |
| Butter | Enhances richness |
| Vanilla extract | Improves flavor |
Each ingredient plays an important role in creating the perfect texture and taste.
Choosing the Right Chocolate
You can use milk chocolate for a sweeter taste or dark chocolate for a richer flavor. Choose high-quality chocolate for the best results.
Optional Additions for Extra Flavor
You can enhance your Reese’s dessert cups by adding:
- A pinch of salt for balance
- Crushed nuts for texture
- A drizzle of melted chocolate on top
These additions can elevate the dessert while keeping it simple.
Step-by-Step Guide to Making Reese’s Dessert Cups
Preparing the Chocolate Layer
Start by melting the chocolate until smooth. Then, spoon a small amount into each cup liner, spreading it to form the base.
Place the cups in the refrigerator briefly to allow the chocolate to set.
Making the Peanut Butter Filling
In a bowl, mix peanut butter, powdered sugar, butter, and vanilla extract until smooth and slightly thick.
This mixture should be easy to shape and not too runny.
Assembling the Dessert Cups
Add a layer of peanut butter filling on top of the set chocolate. Then, cover it with more melted chocolate.
Smooth the tops and place the cups back in the refrigerator until fully set.
Common Mistakes to Avoid When Making This Dessert
Overheating the Chocolate
Overheating can cause the chocolate to become grainy. Melt it slowly for a smooth texture.
Using Runny Filling
If the filling is too soft, it won’t hold its shape. Adjust with more powdered sugar if needed.
Not Letting Layers Set Properly
Each layer should set before adding the next to maintain clean layers.
How to Assemble Reese’s Dessert Cups Perfectly
Layering Chocolate and Filling Evenly
To achieve the best results, it’s important to layer the ingredients evenly. Start with a thin base layer of melted chocolate in each cup liner. Once it has slightly set, add the peanut butter filling, making sure it stays centered.
After that, pour another layer of chocolate over the top, ensuring the filling is fully covered. This method helps create clean and well-defined layers in your Reese’s dessert cups.
Tips for a Smooth Chocolate Finish
For a polished look, gently tap the tray on the counter after adding the top layer of chocolate. This helps remove air bubbles and smooth the surface.
If needed, use the back of a spoon to spread the chocolate evenly. As a result, your Reese’s dessert cups will have a clean and professional appearance.
Setting the Cups Properly
Place the assembled cups in the refrigerator for at least 30–60 minutes. This allows the chocolate to fully harden and the filling to set.
Avoid rushing this step, as proper chilling ensures the cups hold their shape when removed from the liners.
Delicious Variations of Reese’s Dessert Cups
Dark Chocolate Peanut Butter Cups
For a richer flavor, use dark chocolate instead of milk chocolate. This creates a deeper taste that pairs well with the sweet filling.
Crunchy Peanut Butter Version
If you prefer texture, use crunchy peanut butter instead of smooth. This adds a slight crunch to your Reese’s dessert cups.
Healthier Dessert Options
You can make a lighter version by:
- Using natural peanut butter
- Reducing powdered sugar slightly
- Choosing dark chocolate with less sugar
These adjustments help create a less sweet but still satisfying treat.
Extra Flavor Enhancements
To enhance the flavor, consider adding:
- A pinch of salt for contrast
- A few drops of vanilla extract
- Crushed nuts or toppings
These small changes can elevate the overall taste.
How to Store Reese’s Dessert Cups Properly
Short-Term Storage Tips
Store your Reese’s dessert cups in an airtight container in the refrigerator. This keeps the chocolate firm and the filling fresh.
They can last up to one week when stored properly.
Can You Freeze Reese’s Dessert Cups
Yes, these dessert cups freeze very well. Place them in a sealed container and store for up to 2 months.
When ready to enjoy, let them sit at room temperature for a few minutes before eating.
Maintaining the Best Texture
To keep the best texture, avoid exposing the cups to heat. Always return leftovers to the refrigerator after serving.
Keeping them covered also prevents the chocolate from absorbing odors.
Serving Ideas and Occasions for Reese’s Dessert Cups
Best Occasions to Serve These Treats
Reese’s dessert cups are perfect for:
- Parties and gatherings
- Holiday treats
- Homemade gifts
- Quick snacks
Because they are easy to portion, they are great for sharing.
Perfect Pairings for This Dessert
Pair these treats with:
- Coffee
- Milk
- Light beverages
These options complement the rich chocolate flavor.
Serving Tips for Best Flavor
Serve Reese’s dessert cups slightly chilled for the best texture. This keeps the chocolate firm while allowing the filling to remain creamy.
For a clean presentation, remove the liners just before serving.
Frequently Asked Questions About Reese’s Dessert Cups
Can I make Reese’s dessert cups ahead of time?
Yes, Reese’s dessert cups are perfect for making ahead. In fact, they store well in the refrigerator for several days, making them a convenient option for parties or meal prep.
Why is my chocolate not smooth?
Chocolate can become grainy if it’s overheated. To avoid this, melt it slowly using short intervals and stir frequently until smooth.
Can I use natural peanut butter?
Yes, but natural peanut butter can be more runny. If needed, add a bit more powdered sugar to help the filling hold its shape.
How do I keep the layers separate and clean?
Make sure each layer sets before adding the next. Chilling between steps helps create clean and distinct layers in your Reese’s dessert cups.
Conclusion: A Simple No-Bake Treat Everyone Loves
Reese’s dessert cups are a perfect example of how simple ingredients can create a rich and satisfying dessert. With their smooth chocolate layers and creamy peanut butter filling, they deliver a balanced flavor that is both sweet and slightly savory. Because they are easy to prepare and require no baking, they are ideal for quick treats or special occasions.
Additionally, these dessert cups are highly versatile. You can adjust flavors, try different variations, or customize them to suit your preferences. As long as you follow the basic steps and allow proper chilling time, the results will always be delicious and visually appealing.
In the end, this recipe proves that homemade desserts can be both simple and impressive. Reese’s dessert cups are easy to make, fun to share, and perfect for any time you want a sweet treat.
PrintReese’s Dessert Cups – Best Easy No-Bake Recipe

Easy no-bake Reese’s dessert cups made with smooth chocolate layers and a creamy peanut butter filling, perfect for a quick and satisfying treat.
- Prep Time: 15 minutes
- Cook Time: 0 minutes
- Total Time: 1 hour 15 minutes
- Yield: 12 cups 1x
Ingredients
- 2 cups chocolate chips or chopped chocolate
- 1 cup peanut butter
- 1/2 cup powdered sugar
- 2 tablespoons butter, melted
- 1 teaspoon vanilla extract
Instructions
- Melt the chocolate in a microwave-safe bowl in short intervals, stirring until smooth.
- Spoon a small amount of melted chocolate into each cup liner and spread to form a base.
- Place in the refrigerator for 10–15 minutes to set.
- In a bowl, mix peanut butter, powdered sugar, melted butter, and vanilla extract until smooth.
- Add a layer of the peanut butter mixture on top of the set chocolate.
- Cover with another layer of melted chocolate and smooth the tops.
- Refrigerate for 30–60 minutes until fully set.
- Remove from liners and serve.
Notes
- Melt chocolate slowly to avoid a grainy texture.
- Chill between layers for clean results.
- Adjust powdered sugar if filling is too soft.
- Store in the refrigerator to keep firm.
- Use high-quality chocolate for best flavor.
Nutrition
- Serving Size: 1 cup
- Calories: 220
- Sugar: 16g
- Sodium: 120mg
- Fat: 14g
- Saturated Fat: 6g
- Unsaturated Fat: 7g
- Trans Fat: 0g
- Carbohydrates: 20g
- Fiber: 1g
- Protein: 4g
- Cholesterol: 10mg