
If you’re searching for a creative and delicious way to get into the holiday spirit, an Ice Cream Cone Christmas Tree might just become your new go-to seasonal treat. This adorable edible craft combines holiday decorating fun with sweet ingredients like sugar cones, frosting, and festive candies. Whether you’re planning a family activity, classroom party, or just want to dress up your dessert table, these miniature cone trees are as delightful to make as they are to display and eat. Plus, they require no baking, which makes them perfect for all ages.
Looking for inspiration? Try our pumpkin cheesecake truffles for another festive dessert!
JUMP TO
Table of Contents
Why Everyone Loves Ice Cream Cone Christmas Trees
A fun, edible DIY craft for all ages
Making Ice Cream Cone Christmas Trees is an experience that sparks joy across all generations. Kids love the chance to use frosting like paint and candy like ornaments, while adults appreciate the simplicity and charm of this project. It’s a hands-on activity that doubles as a dessert and allows for endless creativity—no baking experience required.
Perfect centerpiece or party treat for Christmas
These edible Christmas trees are more than just a sweet snack. Arrange several decorated cones on a tray with powdered sugar “snow” for a magical holiday table centerpiece. They add color and whimsy to dessert tables, cookie exchanges, or classroom holiday parties. Don’t miss our bite-sized Texas sheet cake bites for a tray-worthy pairing.
Easy holiday activity to make with kids
Parents and teachers rave about how little mess and maximum fun these trees bring. With just a few ingredients and zero oven time, kids can create their own custom holiday masterpiece. Simply lay out the cones, frosting, and toppings, and let the decorating begin. It’s the ultimate “set-it-and-forget-it” activity with tasty rewards.
Ingredients You Need to Make Ice Cream Cone Christmas Trees
Best sugar cones to use for the tree shape
To get that perfect Christmas tree silhouette, you’ll need pointed sugar cones—not the flat-bottomed ones. The tall, conical shape mirrors a traditional evergreen tree when turned upside down. Avoid cake cones or waffle cones, which are too wide or uneven for this specific craft.
Types of green frosting and icing options
You can go with canned green frosting, such as Betty Crocker’s ready-to-use icing with included piping tips, or make your own buttercream and tint it green. If piping isn’t your style, just spread the frosting on with a knife for a rustic tree look. The key is to use a thick frosting that holds its shape well.
| Frosting Option | Pros |
|---|---|
| Store-bought canned icing | Quick and no prep needed |
| Homemade buttercream | Richer taste, customizable consistency |
| Cupcake icing with tips | Professional tree texture |
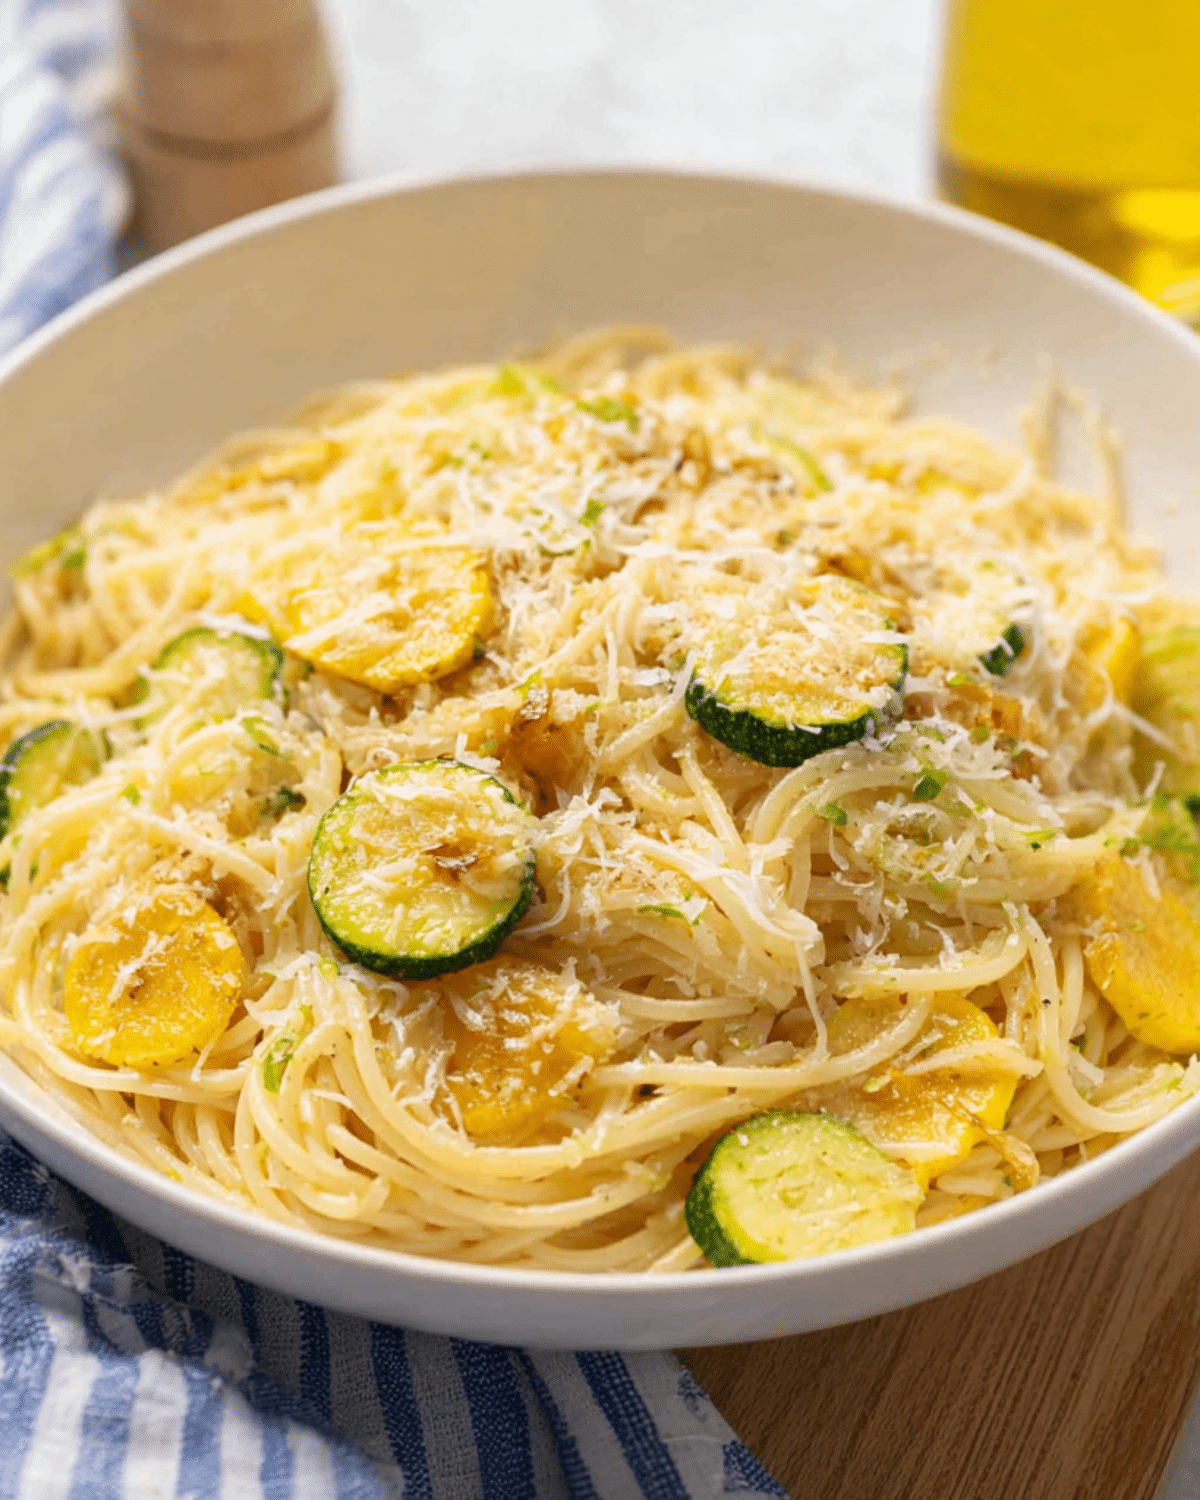
Discover great ideas like our easy lemon butter garlic pasta to complement your sweet holiday menu.
Creative candy decorations for your edible tree
Here’s where the fun really begins. Classic mini M&M’s mimic colorful lights. Add star-shaped sprinkles on top, crushed candy canes, silver dragées, or edible glitter for a magical winter sparkle. The more textures and colors, the more eye-catching your tree becomes. You can even make themed trees like red-and-white peppermint or gold-and-silver elegance.
Don’t miss our candy cane-flavored marshmallow fudge for more candy-themed fun!
How to Make Ice Cream Cone Christmas Trees (Step-by-Step)
Prepping your decorating station
Start by laying out parchment paper or a tray for your workspace. Fill small bowls with various toppings and have napkins or wipes ready. If kids are involved, use aprons or old T-shirts to avoid mess.
Icing techniques with or without piping bags
Hold the cone gently at the base and begin piping green frosting from the bottom upward in zigzag patterns. If you don’t have piping bags or tips, snip the corner of a plastic sandwich bag, insert a tip, or spread icing with a butter knife. Either way, you’ll create a charming and fully frosted tree.
Tips for decorating and presenting your trees
Before the frosting sets, press your candies and decorations lightly into the surface. Anchor the finished trees to a platter using a dab of frosting at the base. Want a winter wonderland look? Sprinkle powdered sugar over the whole display.
Check out our snowflake-worthy apple cinnamon blondies for another frosty holiday dessert idea.
Tips, Tricks, and Variations to Try
Add sparkle with edible glitter or shimmer dust
Want your Ice Cream Cone Christmas Tree to really shine? Dusting the finished frosting with edible glitter or shimmer dust instantly adds a magical holiday glow. These products are food-safe and available in silver, gold, or iridescent hues. Lightly tap the glitter on just after decorating while the frosting is still soft, so it sticks without falling off.
Make a cone forest display or cupcake topper
Why settle for one when you can create an entire forest of frosted trees? Use cones of varying heights and group them on a tray with cotton batting “snow.” For a fun twist, place each cone on top of a cupcake to create edible Christmas tree cupcakes. This combo is ideal for kids’ parties, school bake sales, or your Christmas Eve dessert table.
Looking for inspiration? Try our Christmas gooey butter cookies for another sweet, festive addition to your holiday tray.
Using chocolate cones or matcha icing for fun twists
Ready to go beyond green? Swap standard cones for chocolate-dipped cones or tint your frosting with natural matcha powder for a deep evergreen look. You can even layer two colors of frosting for an ombré tree effect. Themed cones, like red trees with white sprinkles, create a peppermint vibe, while all-white trees give a snow-kissed appearance.
Storage, Serving & Presentation Ideas
How to serve for parties or dessert tables
Serve your Ice Cream Cone Christmas Trees on a large white tray or wooden cutting board with a dusting of powdered sugar for instant presentation points. You can even place them on top of cupcakes, brownies, or mini cheesecakes for a 3D tree effect. Add fairy lights around the display for a magical table centerpiece.
Don’t miss our apple cinnamon sheet cake for a perfect pairing with your cone tree forest.
Best ways to store and transport decorated cones
If you’re preparing in advance, store the decorated cones in an airtight container. Use parchment paper between layers to prevent smudging. For transport, place each tree in a cupcake liner, then into a muffin tin for stability. This is the easiest way to avoid damage when carrying to school events or parties.
Fun ways to include them in your gingerbread setup
Ice Cream Cone Christmas Trees make the perfect addition to gingerbread houses or cookie villages. Place them outside the house, dust with powdered sugar, and create a wintry scene with marshmallow snowmen. These edible trees are much easier to make than piped royal icing trees and look even more realistic.
Discover great ideas like our no-bake pumpkin cheesecake balls if you need more hassle-free holiday desserts.

FAQs About Ice Cream Cone Christmas Trees
Do you eat the ice cream cone Christmas trees?
Yes, they are completely edible! Once decorated, these trees make a fun, crunchy dessert. Kids especially love munching through the frosting and candies. You can also use them as toppers for cakes, cupcakes, or even bowls of real ice cream.
What frosting tip should I use for the tree look?
There’s no “right” piping tip—just experiment. Star tips create a pine-like texture, while round tips give a smoother look. For more control, try a leaf tip to mimic real branches. If you’re spreading the frosting with a knife instead, focus on swirling motions to add tree-like texture.
Can I make these ahead of time for a party?
Absolutely! These cone trees can be made 1-2 days in advance. Store them in a cool, dry place inside an airtight container. Just avoid humid environments, which can cause the cones to get soft or the frosting to melt.
What if I don’t have piping bags or tips?
No problem! Use a zip-top plastic bag and snip the corner for a homemade piping solution. Or, go tip-free and use a knife or small offset spatula to spread frosting. Store-bought icing cans with built-in tips are a great shortcut if you’re short on tools.
Final Thoughts – Make Christmas Sweeter, One Tree at a Time
Whether you’re a seasoned baker or someone just looking for a no-fuss holiday craft, making an Ice Cream Cone Christmas Tree is a festive, hands-on way to celebrate the season. With simple ingredients and unlimited decorating potential, these edible trees are perfect for school events, holiday tables, or cozy family afternoons at home. They’re fun to make, beautiful to serve, and most importantly—delicious to eat.
So this Christmas, skip the complicated recipes and bring the magic of winter wonderlands to your kitchen with a creative twist on dessert. One sugar cone at a time, you can build joy, laughter, and memories that last long after the last bite.
Check out our vanilla bean brown butter cheesecake for another holiday-worthy showstopper!
PrintIce Cream Cone Christmas Tree

Ice Cream Cone Christmas Trees are a fun and festive edible craft made with sugar cones, green frosting, and candies—perfect for kids and holiday parties.
- Prep Time: 10 minutes
- Cook Time: 0 minutes
- Total Time: 10 minutes
- Yield: 5 trees 1x
- Category: Dessert
- Method: No-bake
- Cuisine: American
- Diet: Vegetarian
Ingredients
- 5 sugar ice cream cones (pointed)
- 1 cup green frosting (store-bought or homemade)
- 1/2 cup mini M&M’s
- 1/4 cup assorted sprinkles
- Edible glitter or shimmer dust (optional)
Instructions
- Prepare a clean decorating area with parchment paper and bowls for toppings.
- Hold a cone and begin frosting from the wide end upward using a piping bag or knife.
- Invert the cone onto a tray and finish icing the tip.
- Decorate with mini M&M’s, sprinkles, and optional glitter while frosting is soft.
- Anchor the cone to a tray using extra frosting and arrange creatively for display.
Notes
- Use zip-top bags if you don’t have piping bags or tips.
- Store in airtight containers to keep fresh up to 2 days.
- Can be used as cupcake toppers or in gingerbread house scenes.
- Great activity for kids, school events, or party platters.
Nutrition
- Serving Size: 1 tree
- Calories: 180
- Sugar: 18g
- Sodium: 65mg
- Fat: 7g
- Saturated Fat: 3g
- Unsaturated Fat: 3g
- Trans Fat: 0g
- Carbohydrates: 28g
- Fiber: 0.5g
- Protein: 1g
- Cholesterol: 0mg